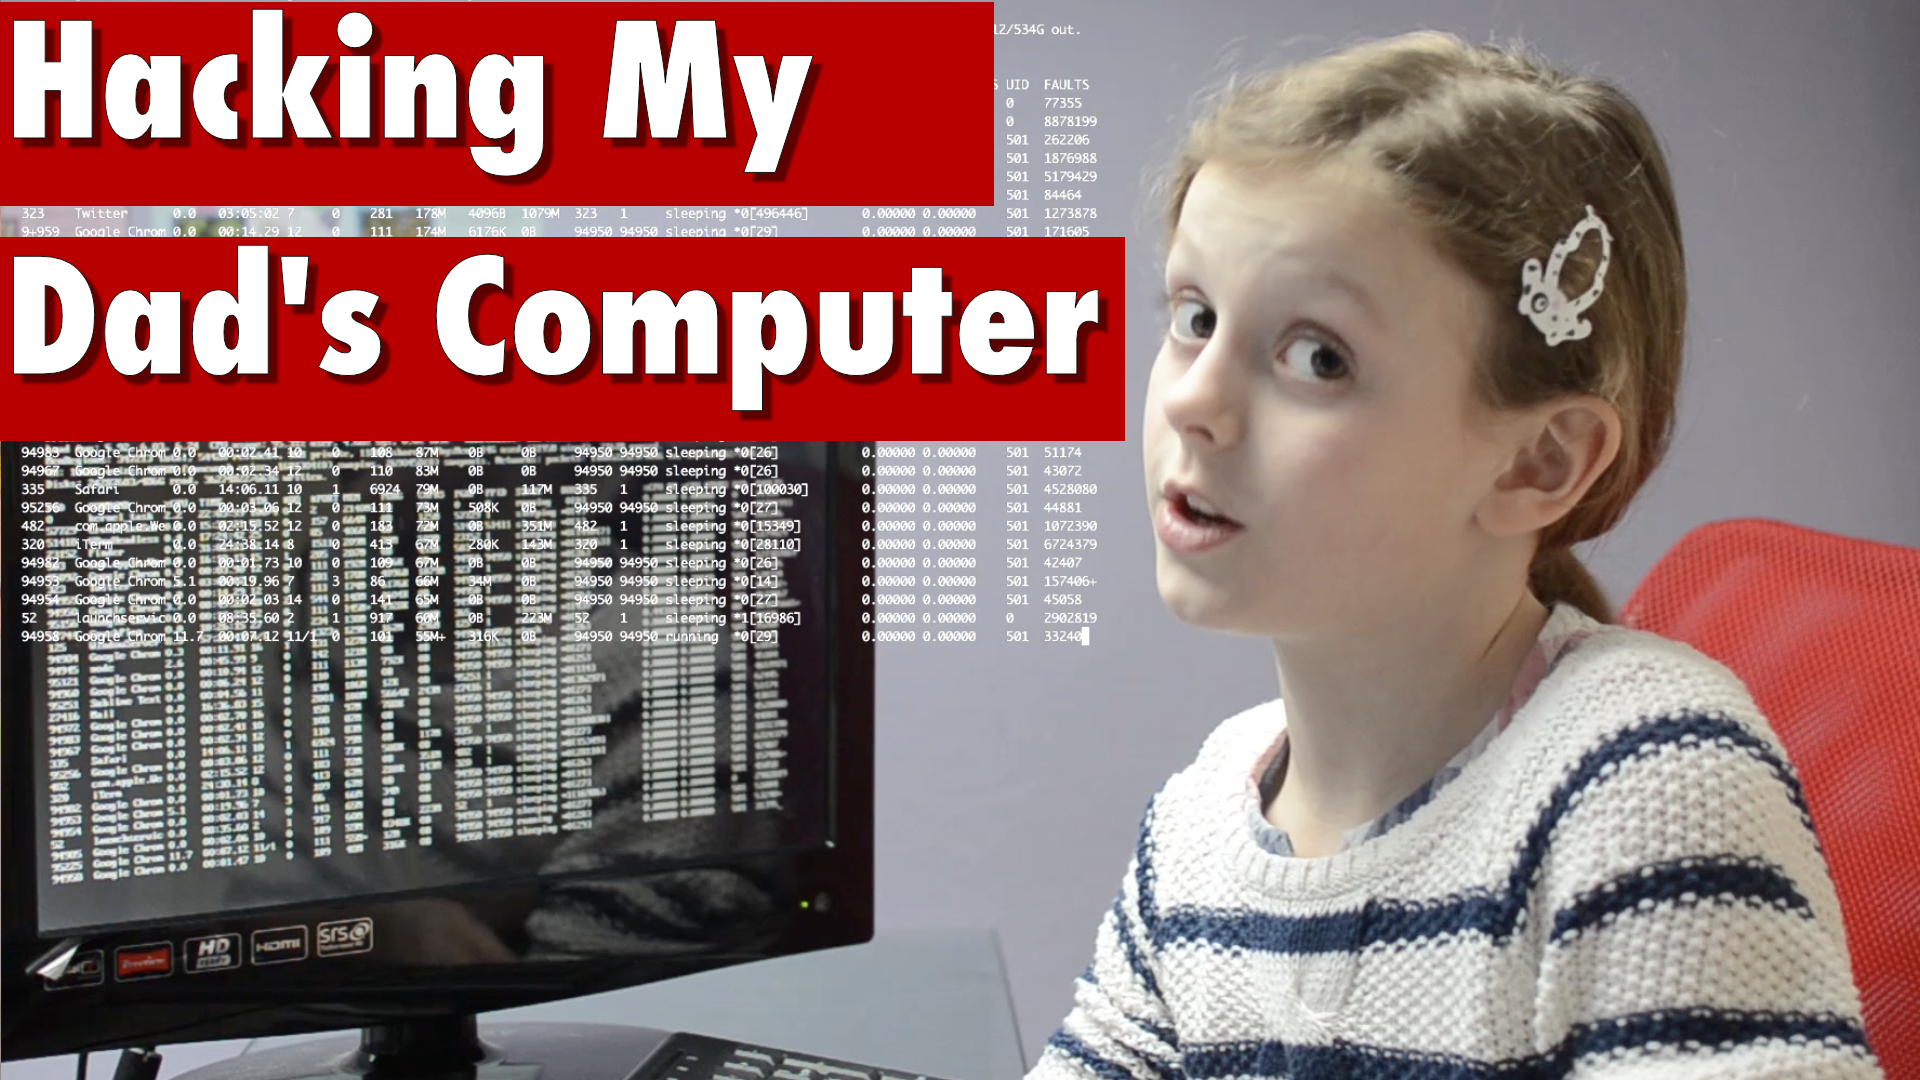
hacking
Kids Hack Their Brother's Computer Using a Raspberry Pi Pico Rubber Ducky
> Hello I am hacking your computer !!!!!!
Imagine pranking someone and the message above starts to type it's self on their computer!
This cool and fun project takes minutes to setup and prepare and the parts can be bought for as little as the price of a cup of coffee.
Video
Overview
This is a simple quick project and can be done on any computer. We tried it out on a Mac but used a Raspberry Pi to prank our Brother. The code is written so that you can set or adjust the time to suit your prank and after that time has expired a message will appear continuously on the screen as if here is a "ghost" writer or a hacker has hacked into the computer. The message can also be changed within the code to display whatever message you would like to appear on the screen for your prank.
We use a Raspberry Pi Pico and a USB-C cable and the code is written in CircuitPython. We make our own Rubber Ducky using a Raspberry Pi Pico, but any RP2040 board should work like the Tiny2040 but there are lots of others out there on the market to choose from.
Rubber Ducky
In this prank we create our own form of Rubber Ducky using a Raspberry Pi Pico and a lead from the Pico into the Raspberry Pi. A Rubber Ducky is a device that looks like a USB flash drive and when inserted, the computer perceives a keyboard, and allows that "keyboard" to enter a host of pre-set keystrokes. It may be used to hack a system. Security experts use them to test the resiliency of their computers systems. Hackers can also use the Rubber Ducky for keystroke injection attacks. Hackers don't need a Rubber Ducky they can use a traditional thumb drive and change the class codes of the device so that the computer reads the thumb drive as a keyboard. They then download apps that let them get rid of the device's firmware.
Code
The code is written in CircuitPython. Our code is not very elegant as we put the whole hack together very quickly before our Brother started working on his computer again. To start you will need to get CircuitPython. To find out how to get CircuitPython onto your RP2040 check out our YouTube video. If you don't have time to watch the video, in short turn the Pico on with the bootselect reset button, download the CircuitPython firmware and drag it on.
The code is below or you can download it here from our GurgleApps github repo. In the code you will see that you can set the time delay to be the number of seconds. We have it set to 8 seconds before the message will appear. You can change this to whatever you want and you can also change the message to be one that you would like to appear on the screen.
import time
import board
import digitalio
import usb_hid
from adafruit_hid.keyboard import Keyboard
keyboard = Keyboard(usb_hid.devices)

start_btn_pin = board.GP16
stop_btn_pin = board.GP17

start_btn = digitalio.DigitalInOut(start_btn_pin)
start_btn.direction = digitalio.Direction.INPUT
start_btn.pull = digitalio.Pull.DOWN

stop_btn = digitalio.DigitalInOut(stop_btn_pin)
stop_btn.direction = digitalio.Direction.INPUT
stop_btn.pull = digitalio.Pull.DOWN

letters_simple = {
    "a":0x04, "b":0x5, "c":0x6, "d":0x7, "e":0x8, "f":0x9,
    "g":0x0A, "h":0xB, "i":0xC, "j":0xD, "k":0xE, "l":0xF,
    "m":0x10, "n":0x11, "o":0x12, "p":0x13, "q":0x14, "r":0x15,
    "s":0x16, "t":0x17, "u":0x18, "v":0x19, "w":0x1A, "x":0x1B, "y":0x1C, "z":0x1D,
    " ":0x2C, "0":0x27, "1":0x1E, "2":0x1F, "3":0x20, "4":0x21, "5":0x22, "6":0x23,
    "7":0x24, "8":0x25, "9":0x26
    }

letters_extra = {
    "!":[0xE1,0x1E],
    "A":[0xE1,0x04], "B":[0xE1,0x5], "C":[0xE1,0x6], "D":[0xE1,0x7], "E":[0xE1,0x8], "F":[0xE1,0x9],
    "G":[0xE1,0x0A], "H":[0xE1,0xB], "I":[0xE1,0xC], "J":[0xE1,0xD], "K":[0xE1,0xE], "L":[0xE1,0xF],
    "M":[0xE1,0x10], "N":[0xE1,0x11], "O":[0xE1,0x12], "P":[0xE1,0x13], "Q":[0xE1,0x14], "R":[0xE1,0x15],
    "S":[0xE1,0x16], "T":[0xE1,0x17], "U":[0xE1,0x18], "V":[0xE1,0x19], "W":[0xE1,0x1A], "X":[0xE1,0x1B], "Y":[0xE1,0x1C], "Z":[0xE1,0x1D],
    }

running = False
# after pressing button to hack starting to type
long_delay = 60 * 1.5
long_delay = 8 # short delay for testing
# delay before we type again
repeat_delay = 5
# message to repeatedly type only needs 1 hex value
message_simple = "you have been hacked "
# more complex multi key chars
message_extra = "You have been Hacked!! 0123456789"


"""
This will type a message with just letters in letters_simple
Just here for learning as it's simpler to follow
"""
def typeStringSimple(text,letterDelay=0):
    global running
    for letter in text:
        if letter in letters_simple:
            keyboard.press(letters_simple[letter])
            keyboard.release(letters_simple[letter])
        time.sleep(letterDelay)
        if stop_btn.value:
            print("stop pressed")
            running = False
            break


def typeString(text,letterDelay=0):
    global running
    for letter in text:
        if letter in letters_simple:
            keyboard.press(letters_simple[letter])
            keyboard.release(letters_simple[letter])
        else:
            if letter in letters_extra:
                for extra_letter in letters_extra[letter]:
                    keyboard.press(extra_letter)
                for extra_letter in letters_extra[letter]:
                    keyboard.release(extra_letter)
        time.sleep(letterDelay)
        if stop_btn.value:
            print("stop pressed")
            running = False
            break

while True:
    if running:
        typeString(message_extra,0.1)
        time.sleep(repeat_delay)
    else:
        time.sleep(0.1)
        if start_btn.value:
            print("PRESS Start waiting:"+str(long_delay))
            running = True
            time.sleep(long_delay)
Equipment
- Raspberry Pi Pico
- Breadboard (optional)
- Jumper wires (optional)
- 2 x Momentary Switches (optional)
- USB-C lead
Outcome
The prank worked pretty well and we had great fun doing it. If you manage to prank any of your friends or colleagues we would love to hear about it. Drop us a message in the comments below here on the website or under our video on Youtube.