projects
DIY Bluetooth Headphones or Amp - Cheap & Simple Project for Beginners.
Make almost any audio device bluetooth with these cool devices. We use these all the time, and they cost about the same as a coffee and burger from a high street chain.
- Overview
- Video Of The Build and Demonstration
- Parts List
- Figure Out How Your Switch Works
- How The 3.5mm Audio Jack Works
- Figure Out How Your 3.5mm Audio Socket Works
- Prepare The Case
- Step Up Voltage Regulator
- The Circuit
- Enjoy Your Home Made Bluetooth Headphones
Overview
We made one to run on AA batteries and one to run off a rechargable lithium-ion (Li-ion) battery. We cover building the internals and also the casing upcycling items we had lying around.
We figure out how the switch works and how the 3.5mm audio socket and jack works using a multimeter.
For the AA battery version we had to change the voltage and explain how to do that.
We demonstrate both versions using Amps, A Car Stereo, Smart Phone, Tablet, and Electric Piano.
Video of the Build and Demonstration
Parts List
You can pick up these parts very cheaply. Some are cheaper if you multi buy. The battery holder, switches, sockets, and step up voltage regulators are useful in so many projects.
- Housing (Mint Tin, Deck Of Cards)
- AA Battery Clip
- Switch
- 3.5mm Stereo Jack Socket
- Step Up Voltage Regulator
- Bluetooth Module
Figure Out How Your Switch Works
You could test continuity using a battery and led or buzzer but these multimeters are so cheap you may aswell invest in one.
You should probably go for a decent one, we got a really cheap one and have had to repair it's leads multiple times. We make these projects and guides on a shoestring so are always looking to save money.
So we just dialed the multimeter to the diode symbol and touched our probes to the contacts on the switch and had a play around. Measuring a 1 meant high resistance so no connection and a very low number meant the contacts were connected.
How The 3.5mm Audio Jack Works
You get a varaiety of audio jacks and sockets, mono, stereo, some have an extra connection for a mic.

A regular stereo jack is segmented into 3 sections. The tip section is the left signal, the middle is right, and the base section is ground.
Figure Out How Your 3.5mm Audio Socket Works
Our audio socket had no instructions and it was hard to see how everything was connected.
Our multimeter continuity testing came to the rescue again. You can plug in your audio lead and put the multimeter probes onto the 3 sections of the jack in turn. For each section you can touch the other probe onto the various contacts on your socket to figure out which to use for left, right, and ground.
Prepare The Case
We used a playing card box and mint tin but the options are endless.
All you need are 2 holes for the audio socket and switch. We used a pencil to make a hole for the cardboard case with some blue tack on the other side.
For the tin we used a drill. Drilling a small hole and gradually getting it bigger was our first idea but it didn't work well. It was better to just go for it one time with the correct size drill bit.
You need to think about the layout of your internals. Where are the batteries and all the components going to fit? Have a good idea of your layout before you start to build the internals.
Step Up Voltage Regulator
For our AA battery version we needed a step up voltage regulator. You don't have to use the same as ours there are many options.
We used the MT3608 DC-DC Boost Converter. You can get regulators that step up to fixed voltages but this one is variable so there was some setup to be done.
We had to connect it to our multimeter, connect our 2xAA Cells and turn a dial to get to the right voltage. We bought a job lot of these and some of them needed quite a lot of turns to start changing voltage.
The Circuit
Really simple here, connect your battery holder to the step-up voltage regulator via a switch on the positive side.
The output of the step-up is connected to positive and ground of the bluetooth module.
Finally the left, right audio and ground of the bluetooth module is connected to your audio socket where we earlier figured out what each contact was.
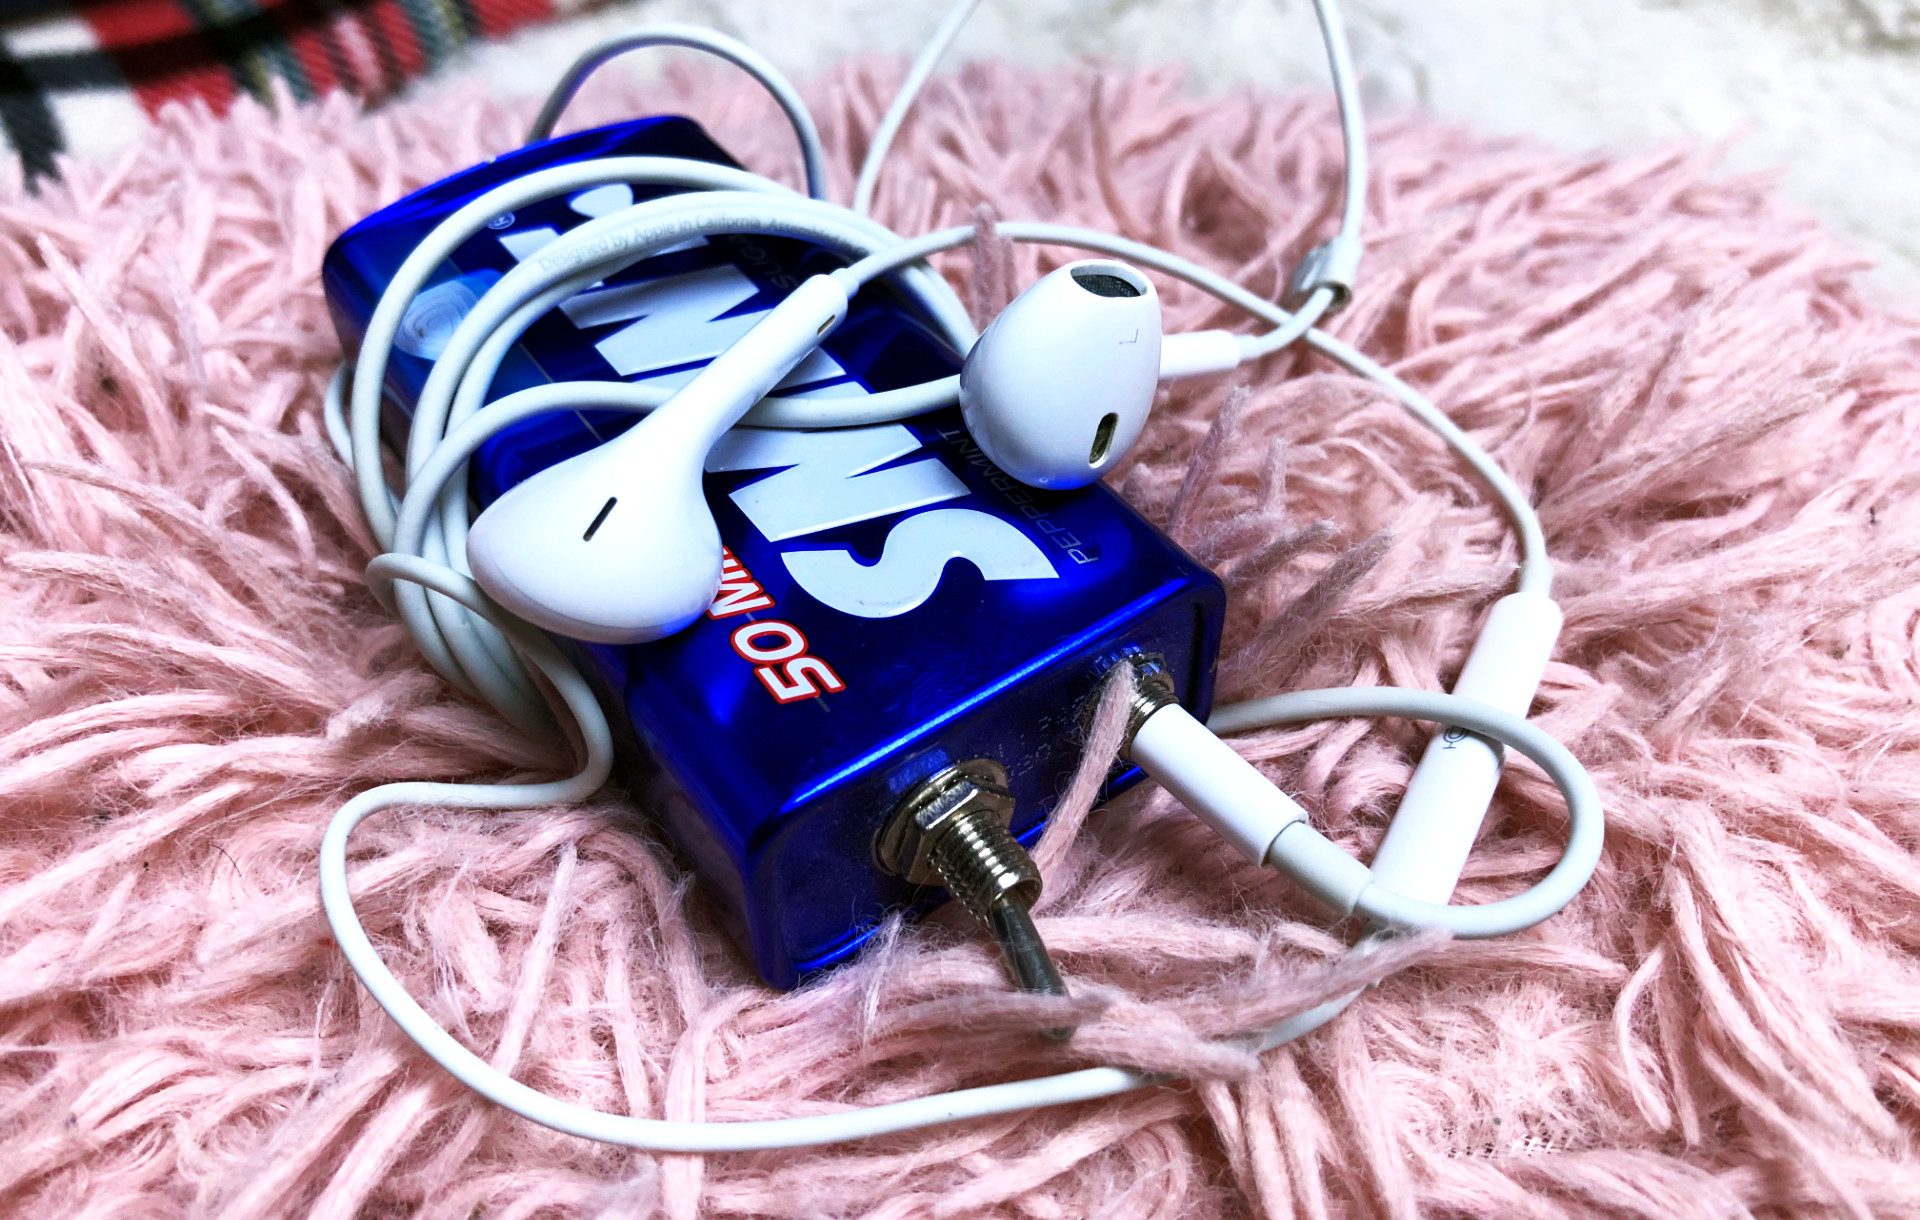
Enjoy Your Home Made Bluetooth Headphones
Now plug in some headphones, earphones or connect it to an amp. Sit back, recline, and enjoy your handiwork.

