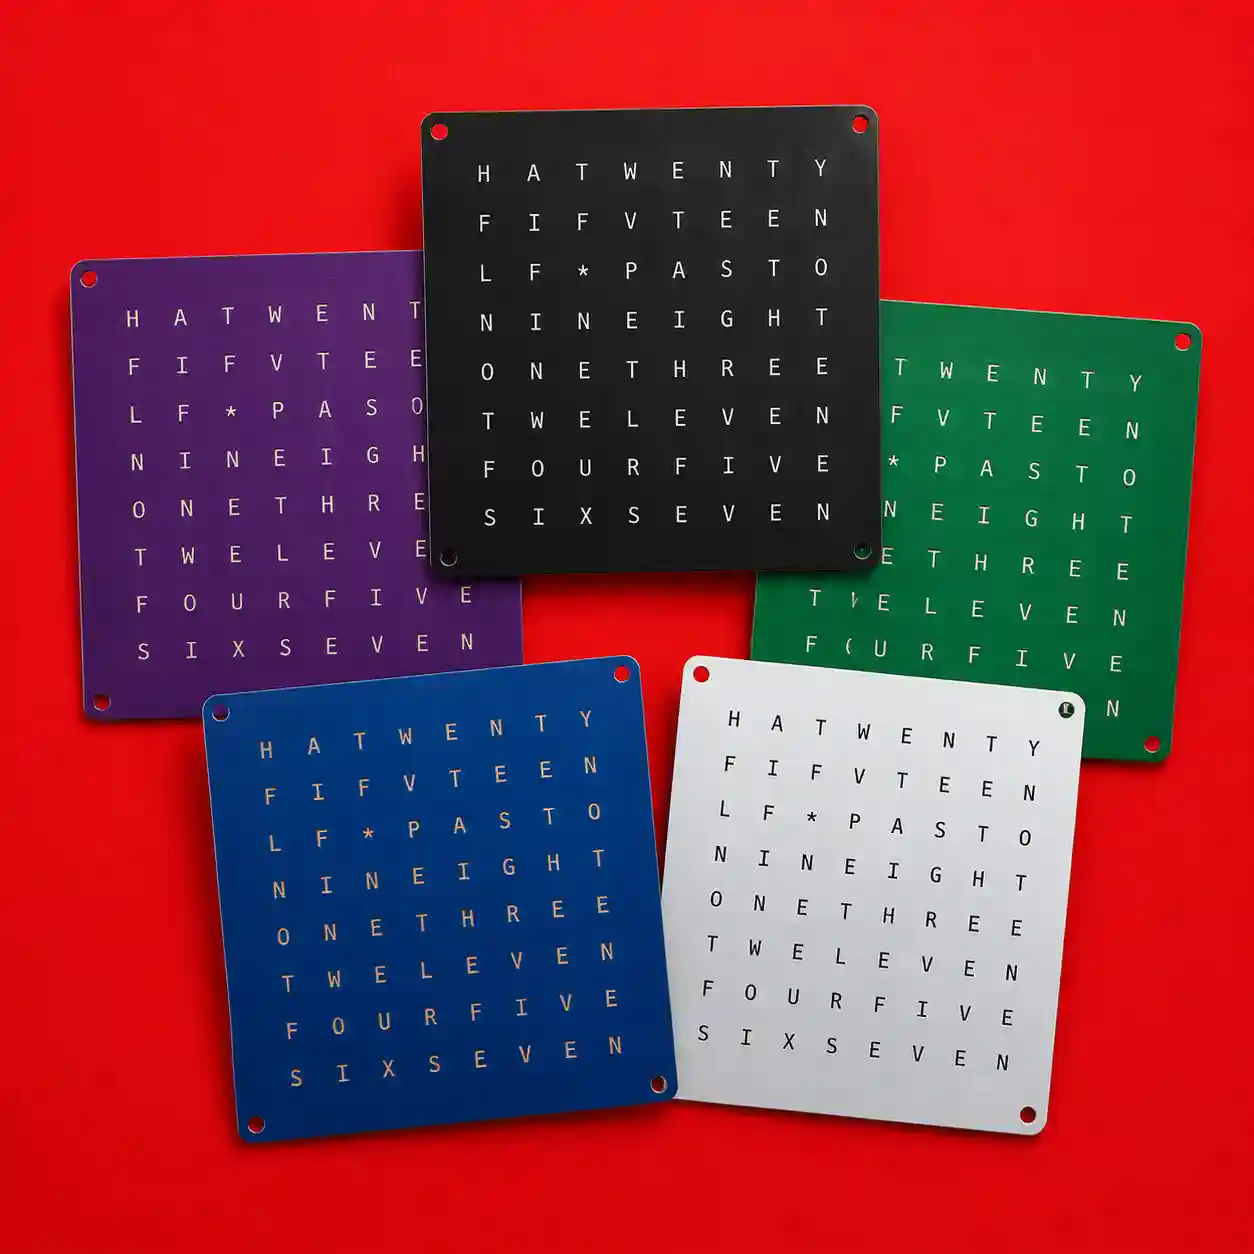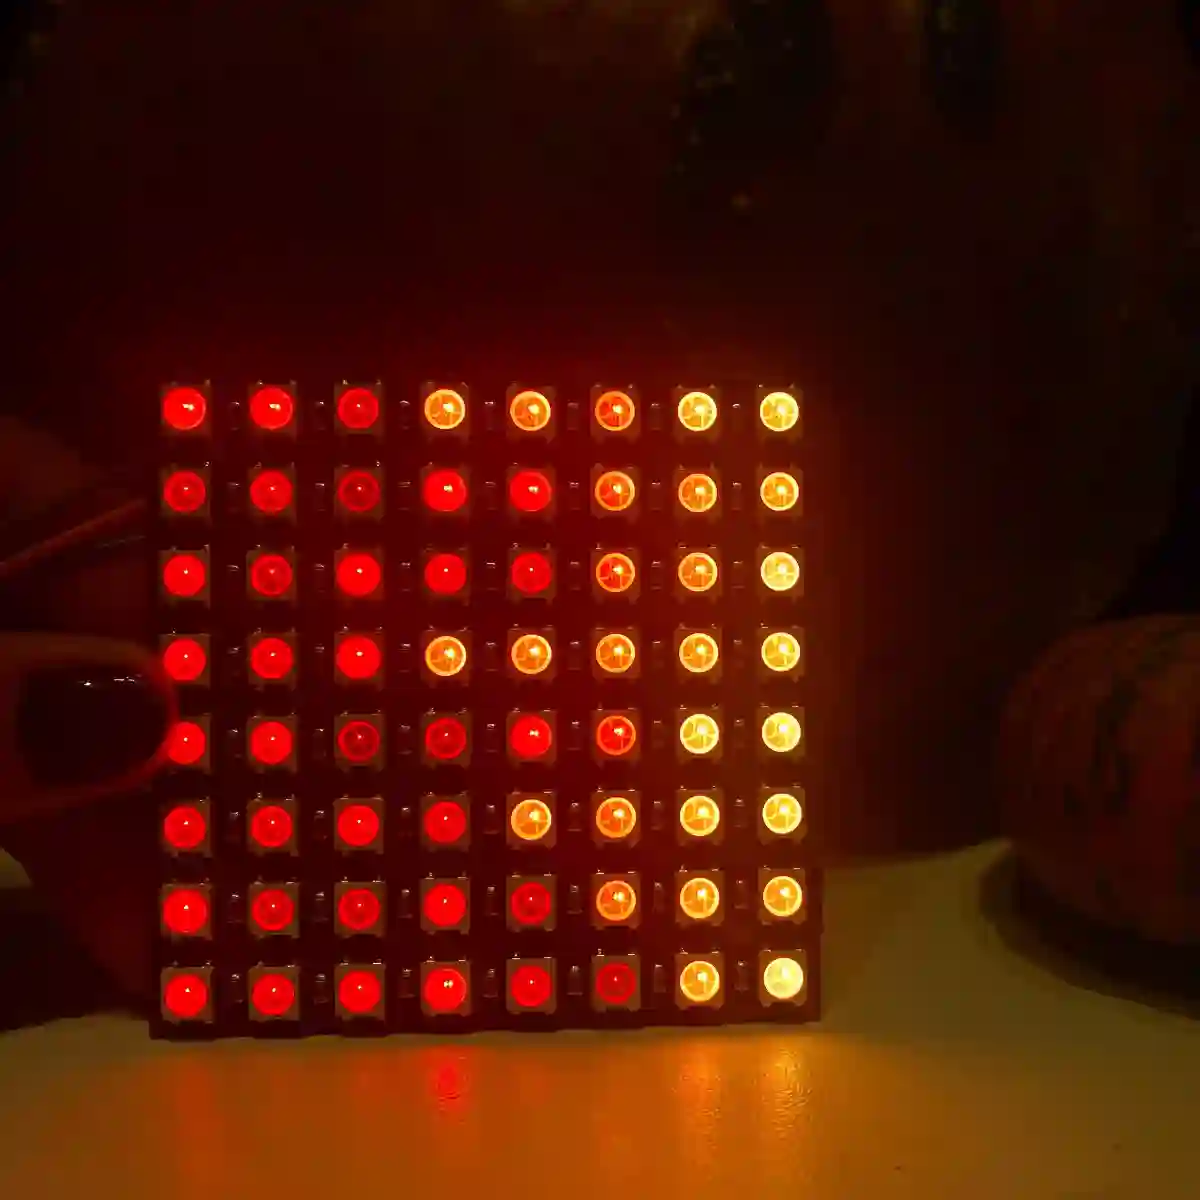
 Just arrived in the workshop
GurgleApps workshop · Software & support
WiFi Word ClockSoftware downloads & setup
MicroPython software for the GurgleApps WiFi Word Clock. Download the source archive, then copy the project files onto your Raspberry Pi Pico W or Pico 2 W using Thonny. Follow the setup guide below for your board and kit.
Recommended update
Version 1.1.1
Software file package · copy files onto your device
Hardware: pico-w-pico-2wStable
Download software 1.1.1
1.33 MB · 1,325,053 bytes · .zip archive
Extract the archive and follow the installation instructions below. This package is installed by copying files, rather than uploading a firmware image.
Technical details & SHA-256 checksum
- Filename
- wordclock-1.1.1-source.zip
- SHA-256 checksum
- 5ba9702f3e50a61669526e0ae446c1894d3fb9528ca068e52d561a3de6aaa4f5
- Installation method
- Copy software files onto the device
- Source revision
- f50e6e39548b961f55d19b923216e8d7e5ba7ead
What has changed
Word Clock software 1.1.1
- Updates the browser interface with sky-blue accents, button icons and label fixes.
- Install by copying the contents of
src, includingVERSIONand the completewwwfolder, onto your device. - Keep existing
config.json,scenes.jsonandschedules.jsonwhen updating unless a specific change is required. - Confirm the LED pin for your board: GPIO 27 for V2 kits and later; GPIO 2 for V1 kits.
This download is a fixed source snapshot from 1 May 2026 for the Pico W/Pico 2 W setup described in the repository. Other boards may need different configuration or driver changes. The source link and technical details identify the exact revision.
Installation guide
Install the Word Clock software
- Back up your current files before updating, especially
config.json,scenes.jsonandschedules.json. Record the board and wiring used by your kit. - If you are setting up a new board, install the appropriate MicroPython firmware for your exact Pico W or Pico 2 W using Thonny. An ordinary software update does not by itself require reinstalling MicroPython. See the full software setup guide.
- Download and extract the ZIP archive. Open its top-level folder, then find the
srcfolder. The archive also includes source/development files; those belong on your computer. - Connect to your clock in Thonny. Copy the files and folders inside
srcto the device's root, includingmain.py,VERSION, the.pymodules and the completewwwfolder. Do not copy the enclosing GitHub archive folder onto the board. - On an existing clock, keep your existing
config.json,scenes.jsonandschedules.jsonunless the release notes explicitly require a change. On a new clock, choose and edit the appropriate configuration before copying it. - Check
WS2812B_PINagainst your circuit board: the repository documents GPIO 27 for V2 kits and later, and GPIO 2 for V1 kits. Do not replace a working configuration with a default intended for different wiring. Pico W/Pico 2 W builds use the supplied PIO NeoPixel driver. - Restart the clock, open its browser control panel, and check the version, display, network connection and saved settings. If anything is unexpected, keep your backup and contact GurgleApps before trying further changes.
The GitHub repository remains the source of truth. Each website download is tied to a fixed source revision; it does not silently change when the repository's main branch changes.
Keep making
More from our workshop
Find your next project among our electronics kits and components.