electronics
Adding A PIR Motion Sensor To A Project
Adding a motion sensor to a project can be quick, cheap, and simple but there are a few gotchas to watch out for.
Overview
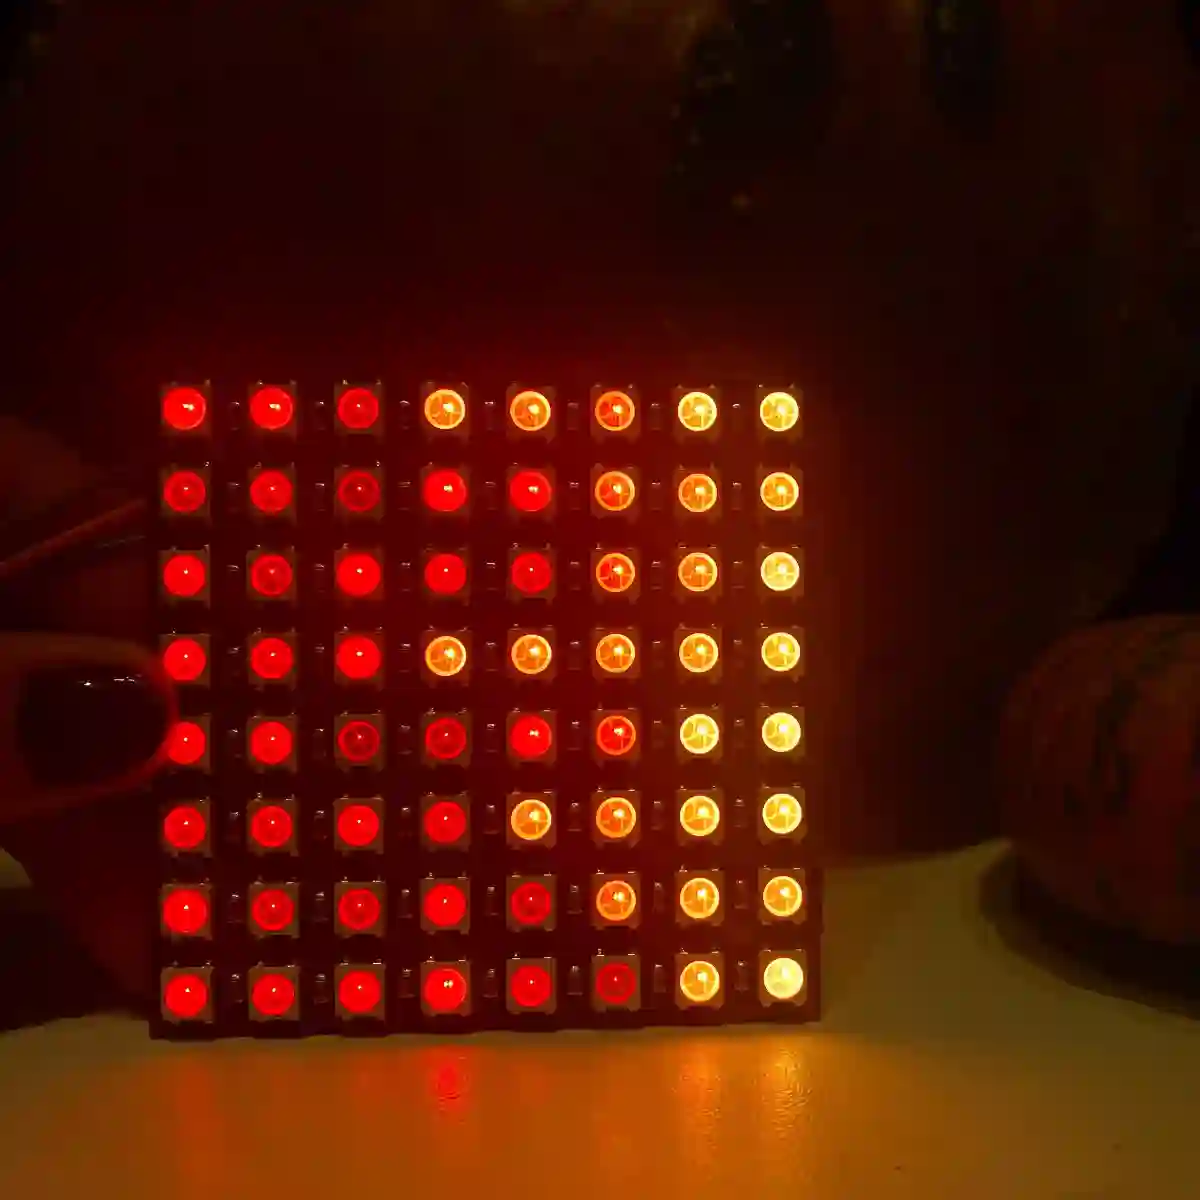
We wanted to change our Animated 8x8 LED Pumpkin Eyes project to sleep and start up when someone walked past. The code and circuit was simple but we did waste a lot of time on a couple of steps. Find out what you need, how to connect & set everything up, code included.
Video Demo And Setup
How Does It Work
A body will emit thermal electromagnetic radiation, this is picked up by the plastic lens and a pyroelectric sensor translates this into an electric current. The PIR will look for any change in the current, hence a change in the thermal electromagnetic radiation and set it's output pin to high if there is a change.
If a body/heat source sets this off and remains perfectly still it will measure this as the normal state after a certain time (configurable via a dial). If the body moves there is a change and the pin is held high again.
How To Connect It Up
It's trivial, just positive to +VCC, GND to GND and the middle pin is the output pin. If you aren't using a microcontroller a pull down resistor would be a good idea. There is a jumper and 2 dials which are explained later in this article.
Code
This is MicroPython but you can convert to CircuitPython or language of choice.
pir_pin =16
pir_sensor = machine.Pin(pir_pin, machine.Pin.IN, machine.Pin.PULL_DOWN)
if pir_sensor.value():
	print('something going on')
else:
	print('no motion detected')
Gotchas
The plastic that focuses the infra red radiation comes off so you can see the VCC and GND labels.
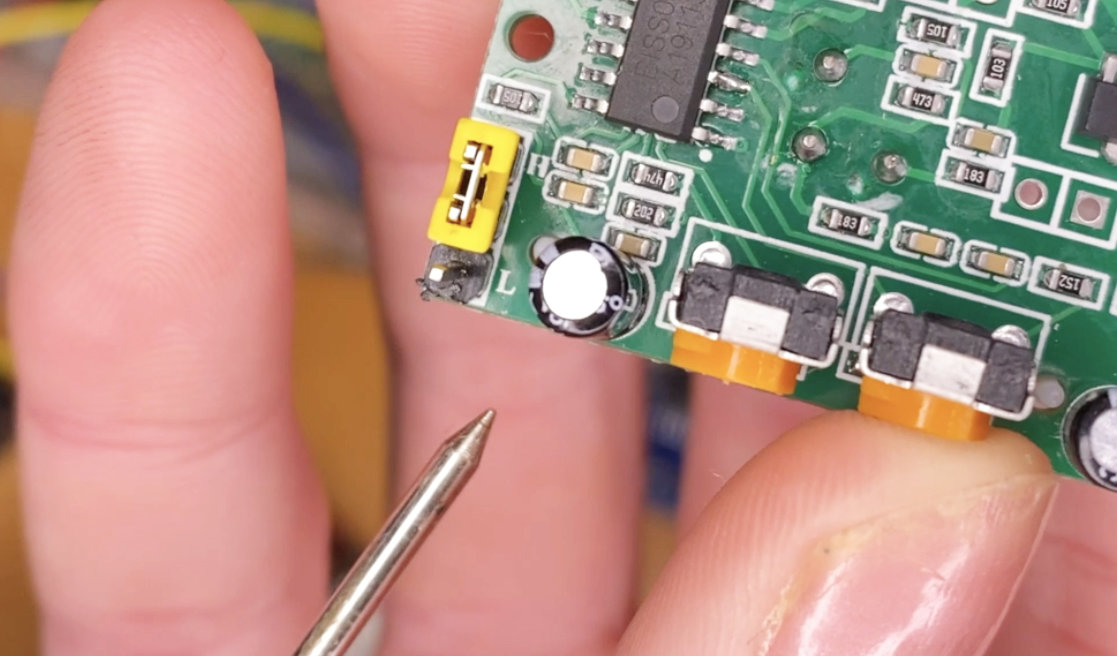
There is a jumper that needs to be set, this held us up as it was factory set to Single Trigger. We had to move it from 'L' to 'H' to change it to repeat trigger. Made a big difference as before the change the digital out was flipping on and off like crazy.

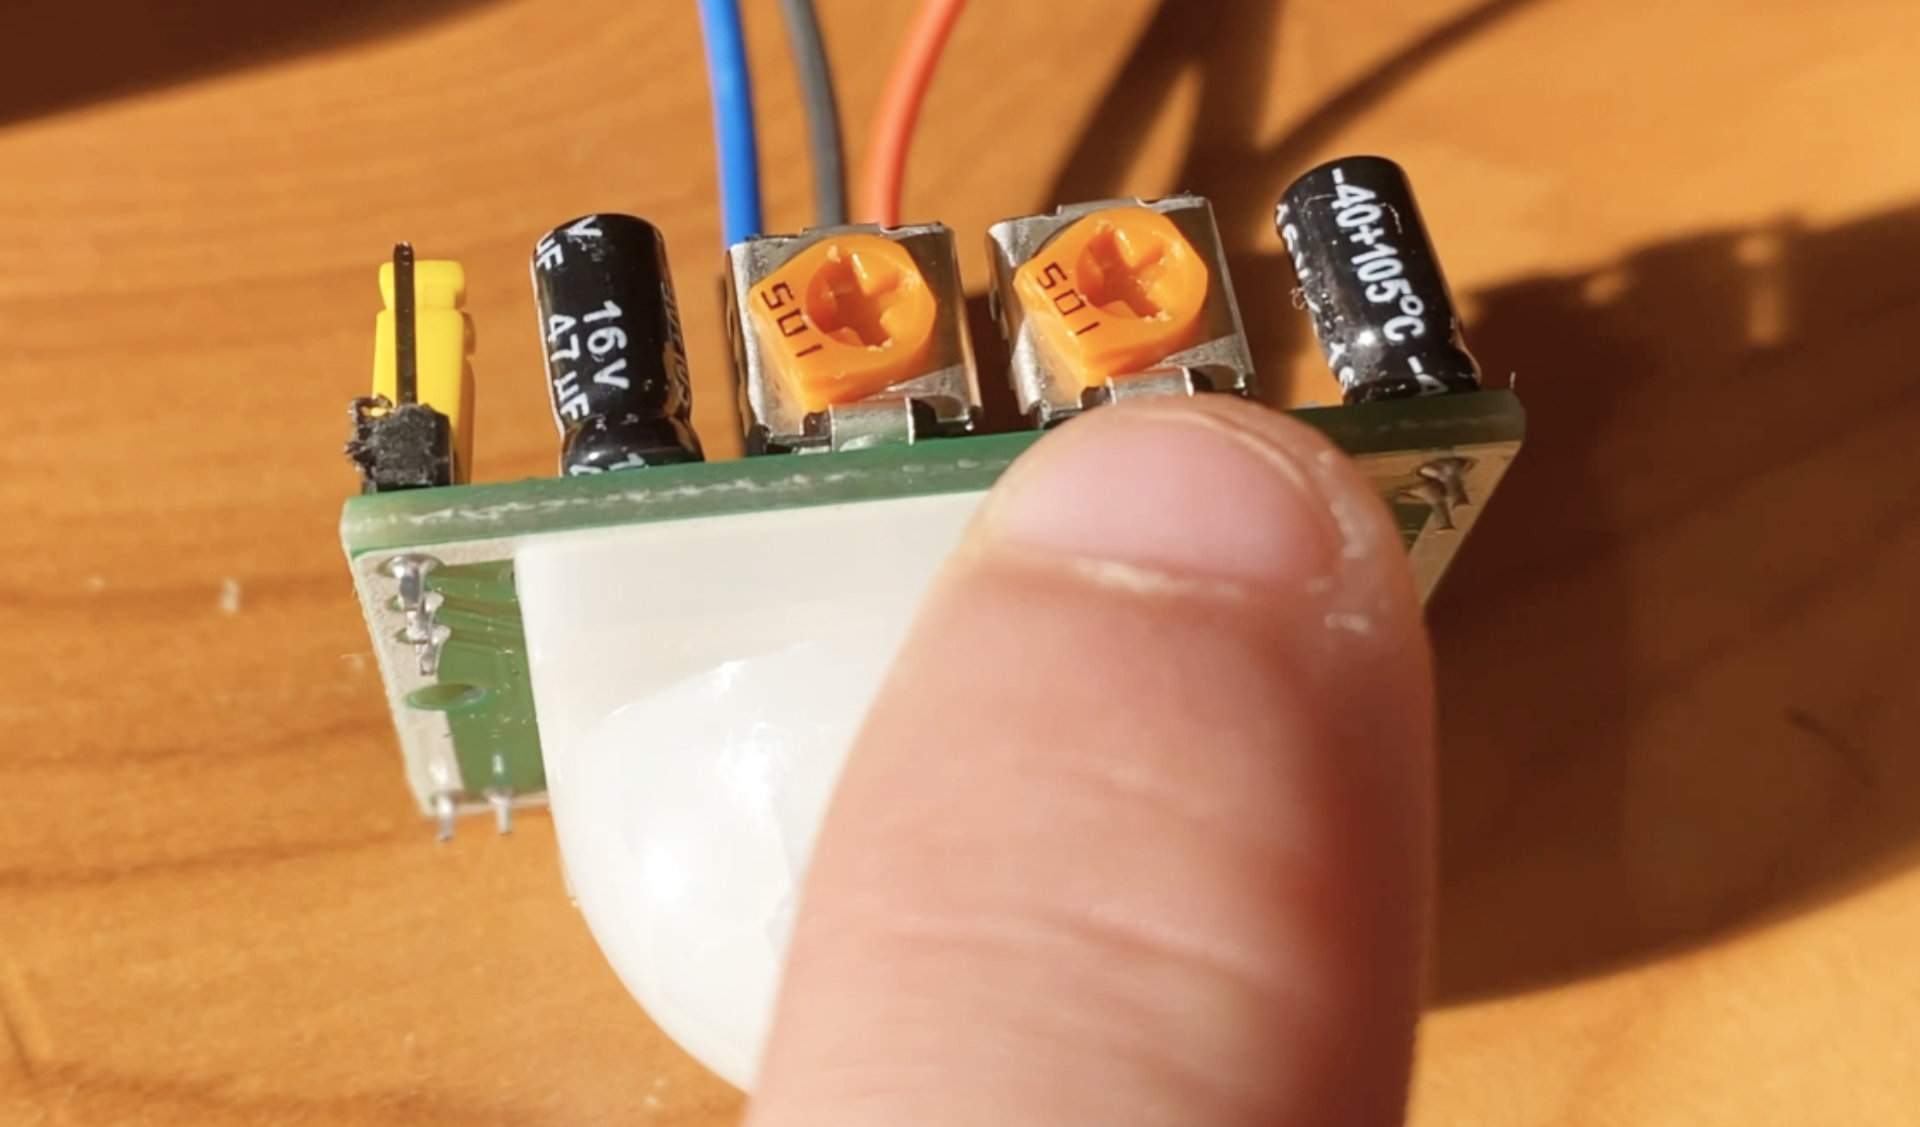
There are 2 adjustable dials, the center dial adjusts detection range supposedly counter clockwise to increase the range but it seemed to do the opposite on ours.

The other dial adjusts the timer we wanted this to be as short as possible so turned fully counter clockwise.
It will work from the 3.3V but went from working perfectly to misfiring when we used 2xAA Cells. We gave it it's own 3xAA cells and it was back to working perfectly.


