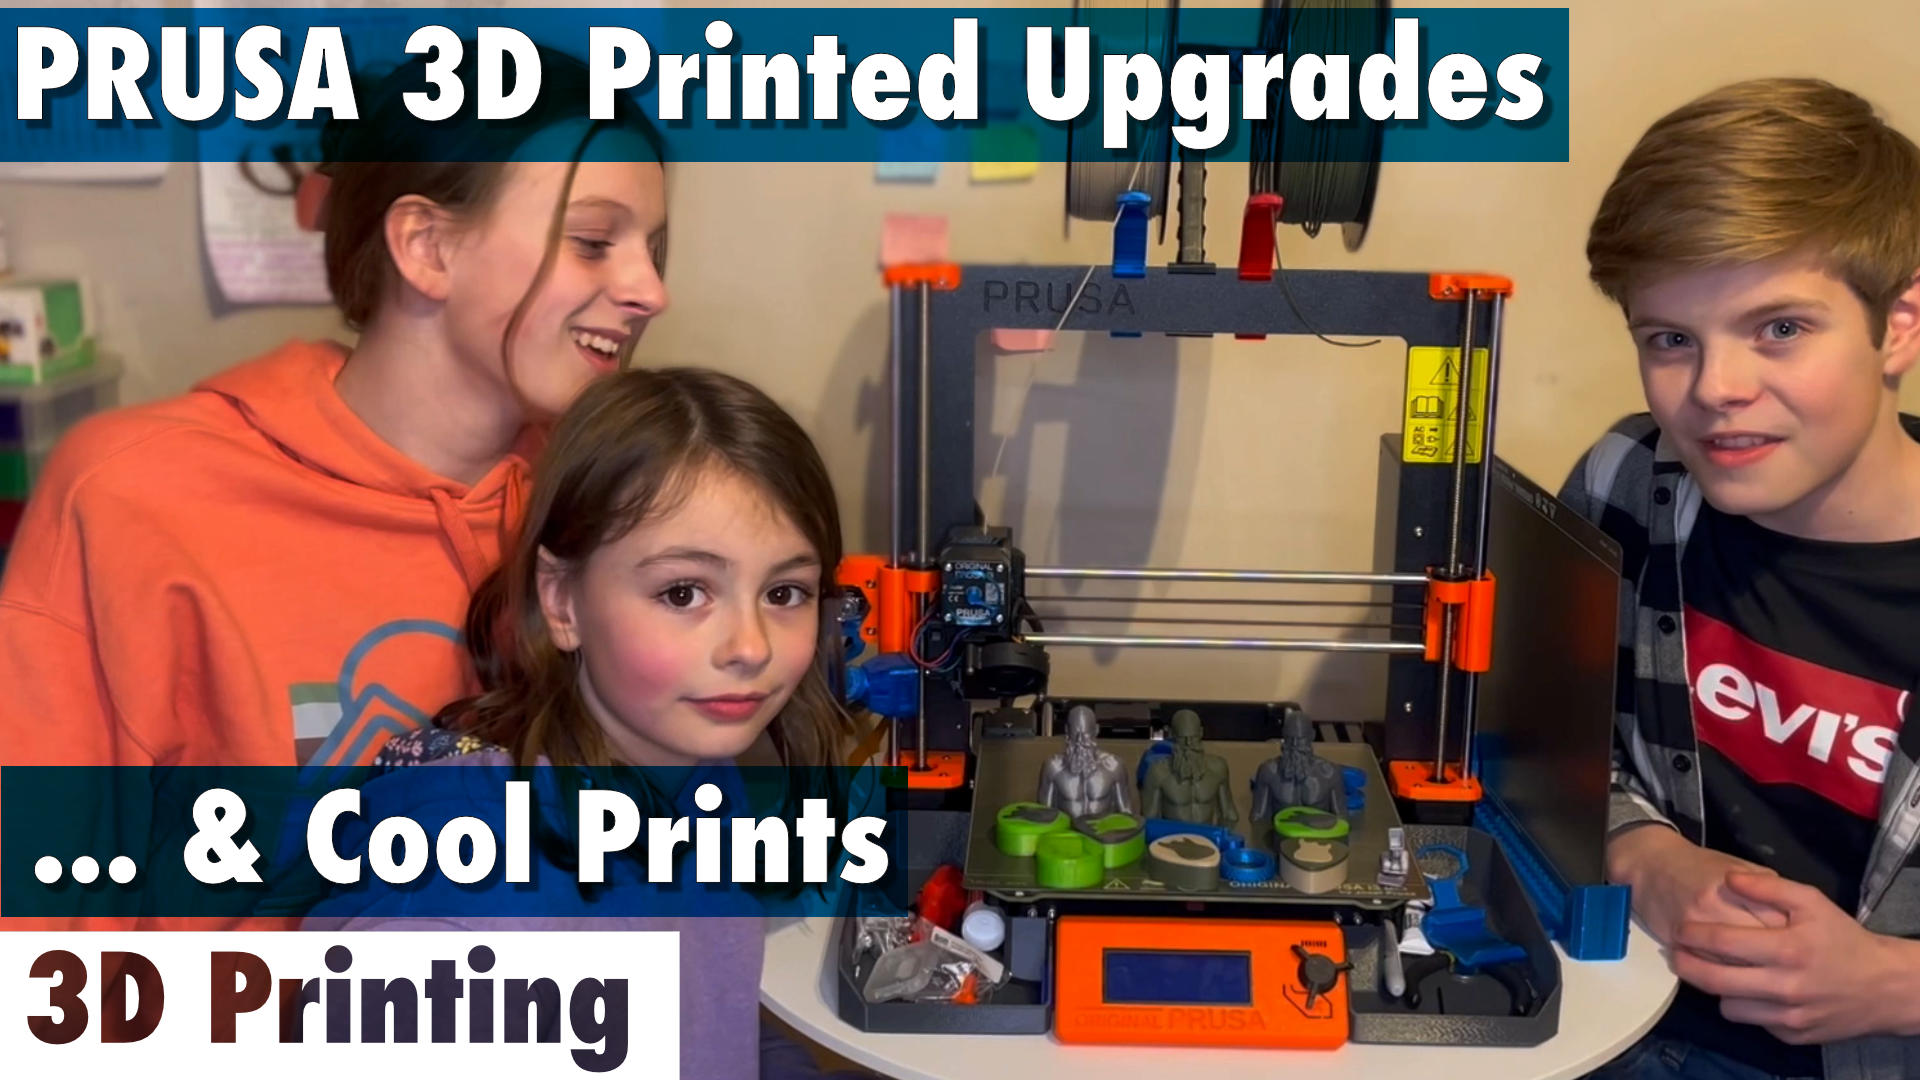
3D printing
Building the Prusa i3 MK3S+ 3D Printer
Ever fancied your own 3d printer or not sure which one to get. We show you the fun build process and demo a few of the objects that we have printed on the Prusa i3 MK3S+ and our original Qidi Tech 3d printer.
You save money by building it yourself and it's also a fun learning experience.
- Video
- The build
- Build Time
- What Is In The Box
- Haribos
- Tools
- First Steps To Haribo City
- X Axis And A Stuck Finger
- Z Axis
- E Axis Extruder Assembly
- Screen and Heatbed
- PSU Electronics and Cable Management
- Plugging In And Our First Print
- Prusa i3 MK3S+ vs Qidi Tech 1 3D Printer Compared
- Should You Buy A 3D Printer
- A Week With The Prusa And Part 2
Video
The build
Build Time
We expected to build this in an evening but vastly underestimated how long it would take. You really are putting almost everything together yourself.
It took 2 long evenings and everyone was in bed by the time our brother finished up on the final evening.
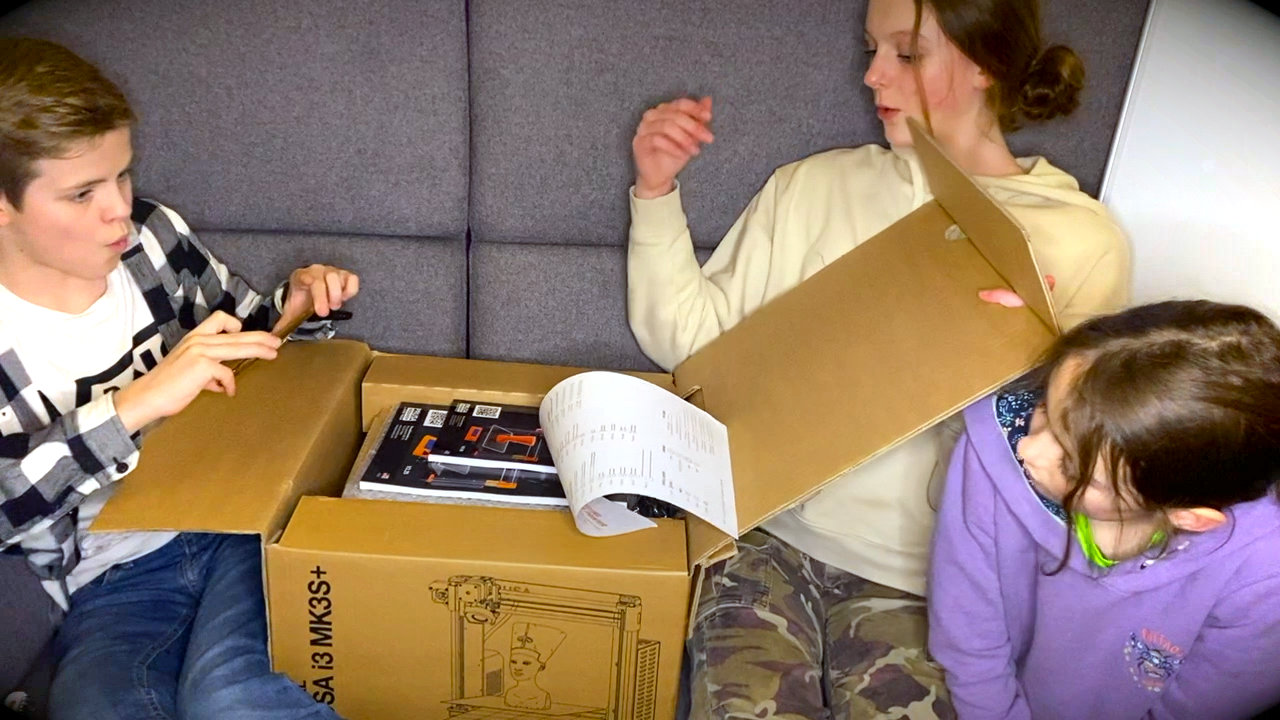
What Is In The Box
Many of the parts are 3D printed on Prusa Printers, you get all the tools you need, great instructions and everything you will need is in the box.
Even filament to make your 1st print. We bought an extra build plate which is less smooth as we will be printing with PETG as well as PLA and the PETG may stick to the smooth build plate too solidly.
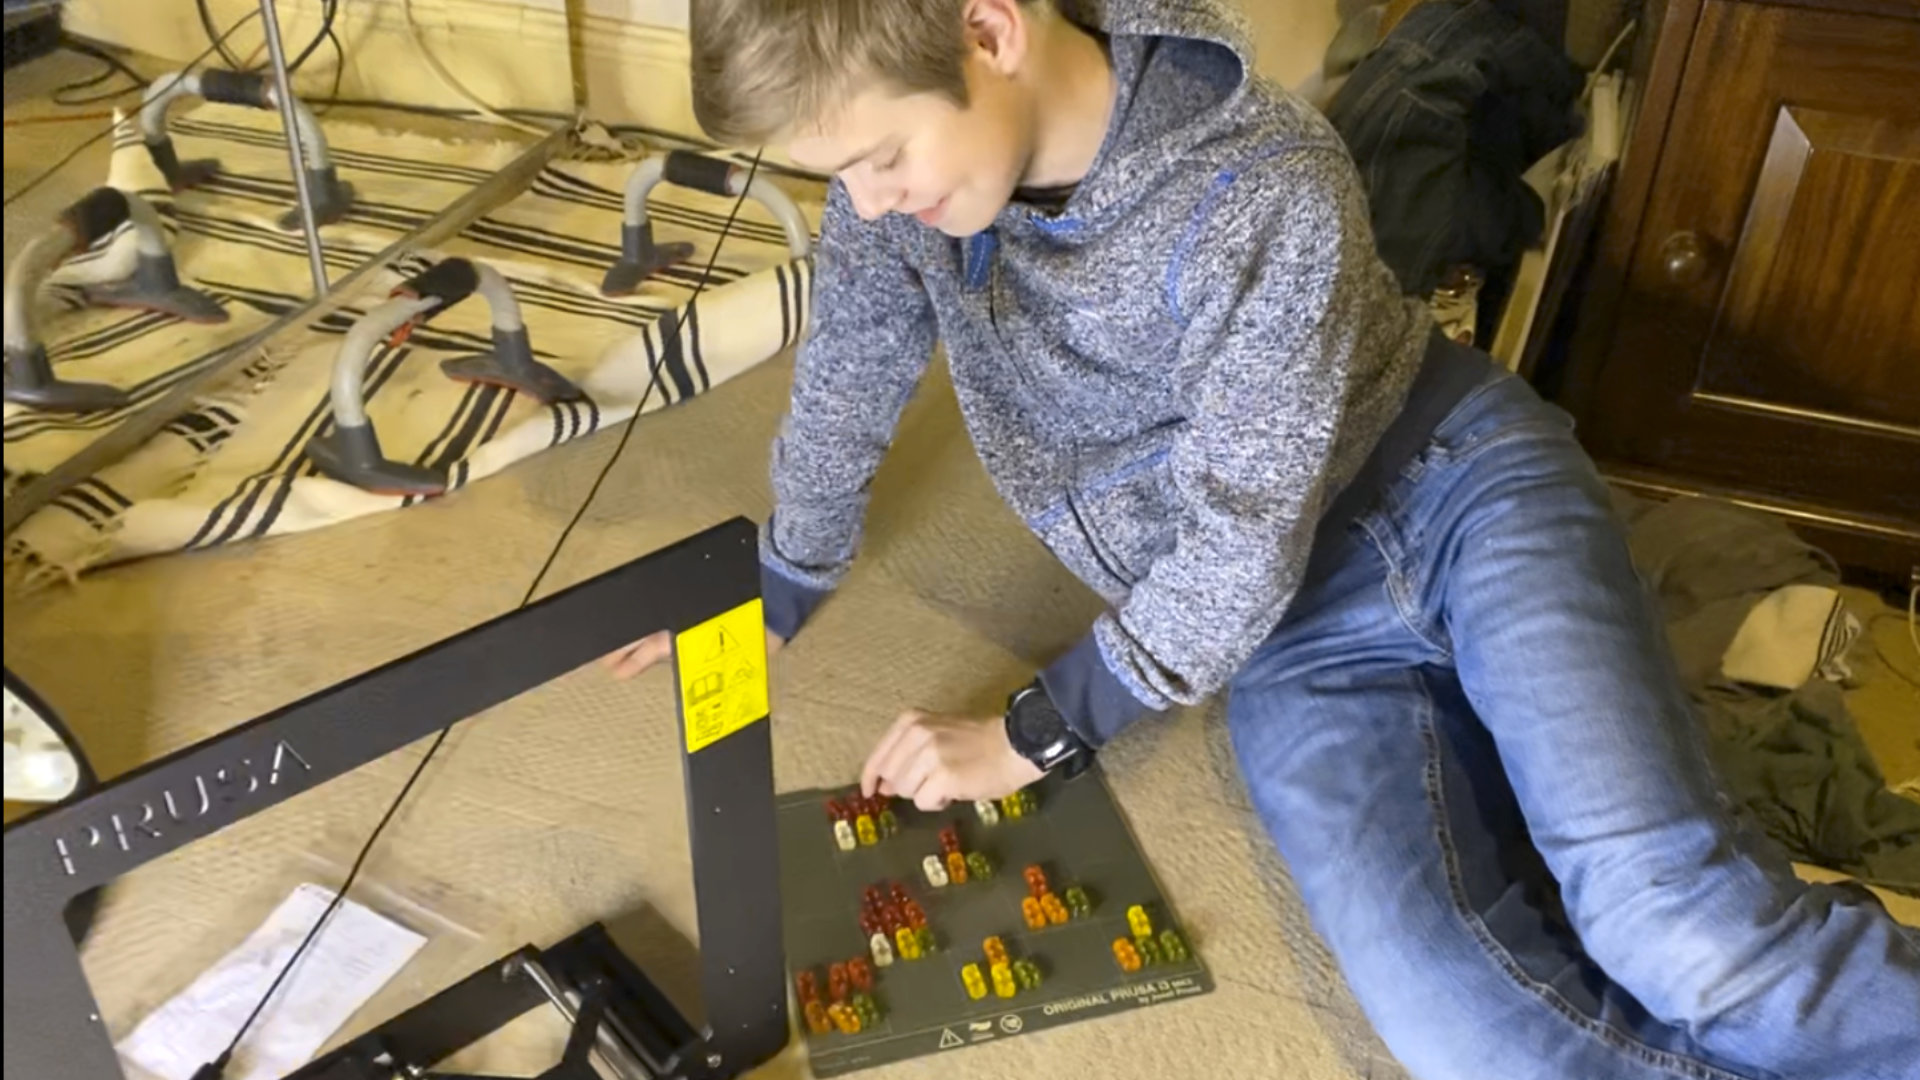
Haribos
As you reach certain milestones the instructions tell you how many of the supplied Haribos to eat. A really nice touch which our brother deserved most of as he did most of the work on this project.
Tools
We used a pen knife to cut the zip ties but everything else can be build using the following included tools.
- Needle-node Pliers
- Assortment of Allen Keys (6)
- Philips Screwdriver
First Steps To Haribo City
You start out building the Y axis which looks like you are building 90 percent of the printer. It's relatively quick and easy and progress seems fast.
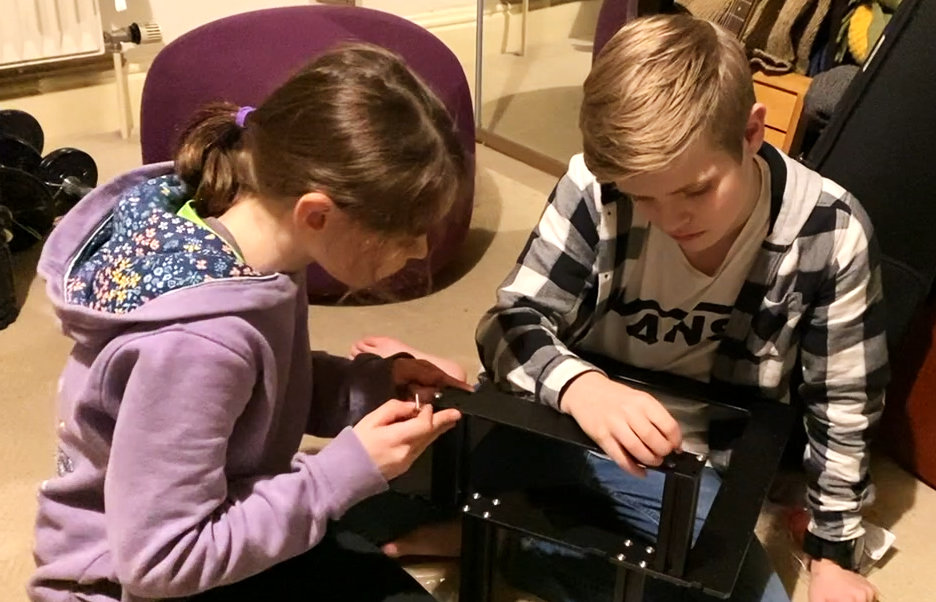
It's an important stage as you don't want to bend the frame we got it to within 1mm but not perfect. The Y axis will move the build plate back and forth in the Y direction.
You add the Y axis stepper motor, belt, and bearings which is a little more involved but it still feels like you'll be finished soon. If only we knew.
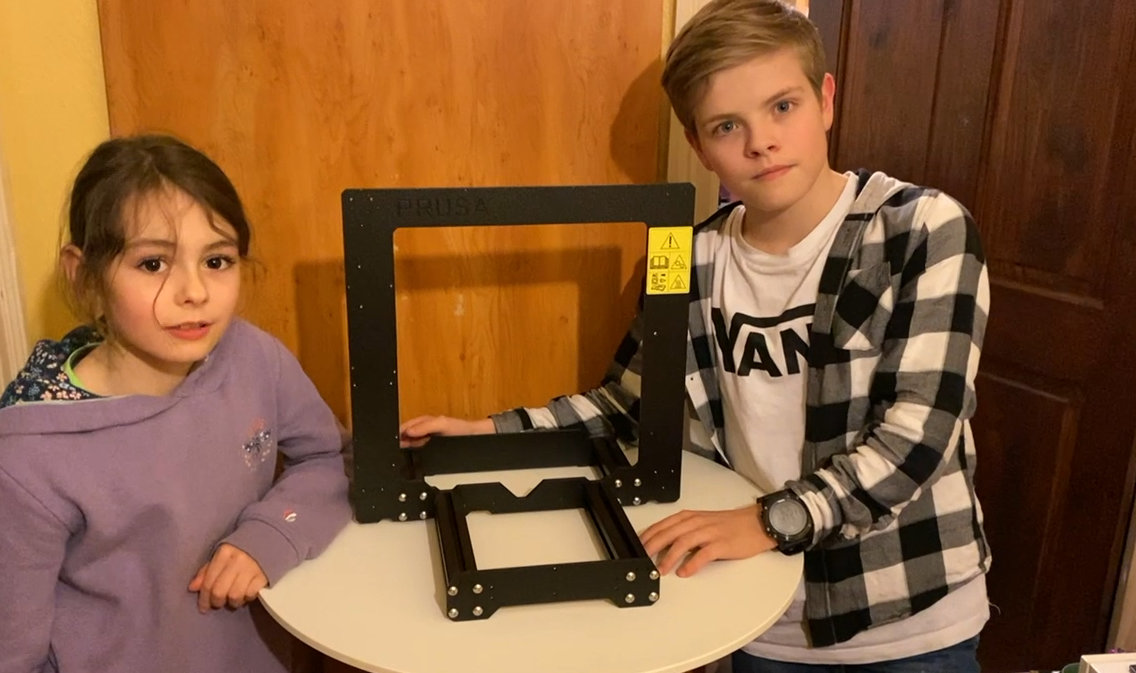
X Axis And A Stuck Finger
Adding the linear bearings I got my finger stuck as I was pressing them in. It's a fiddly stage and the instructions warned about losing the tiny ball bearings so we took our time.
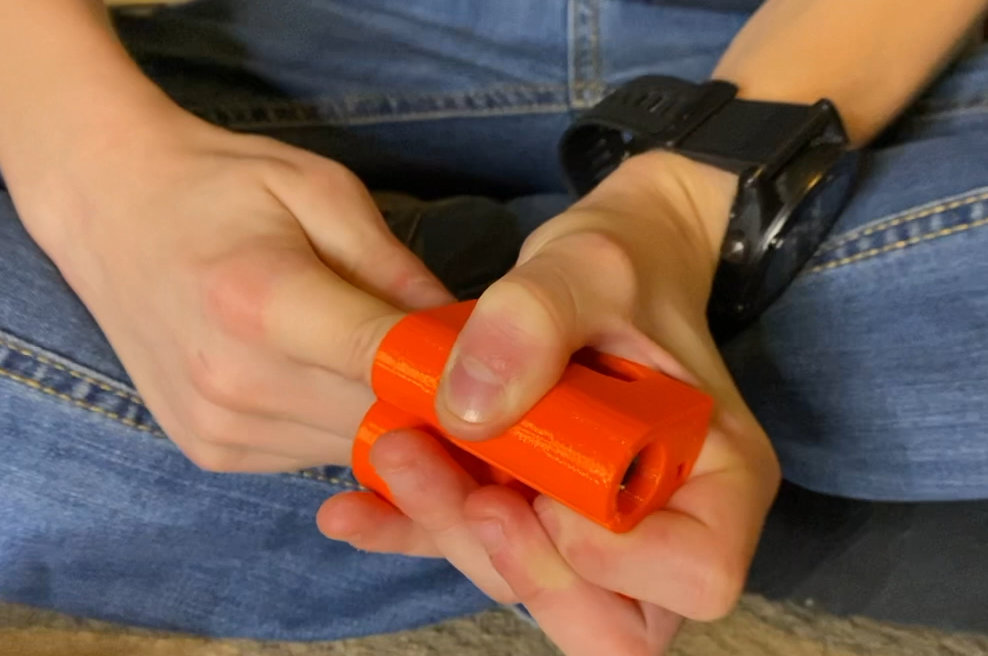
The X axis will move the extruder left and right
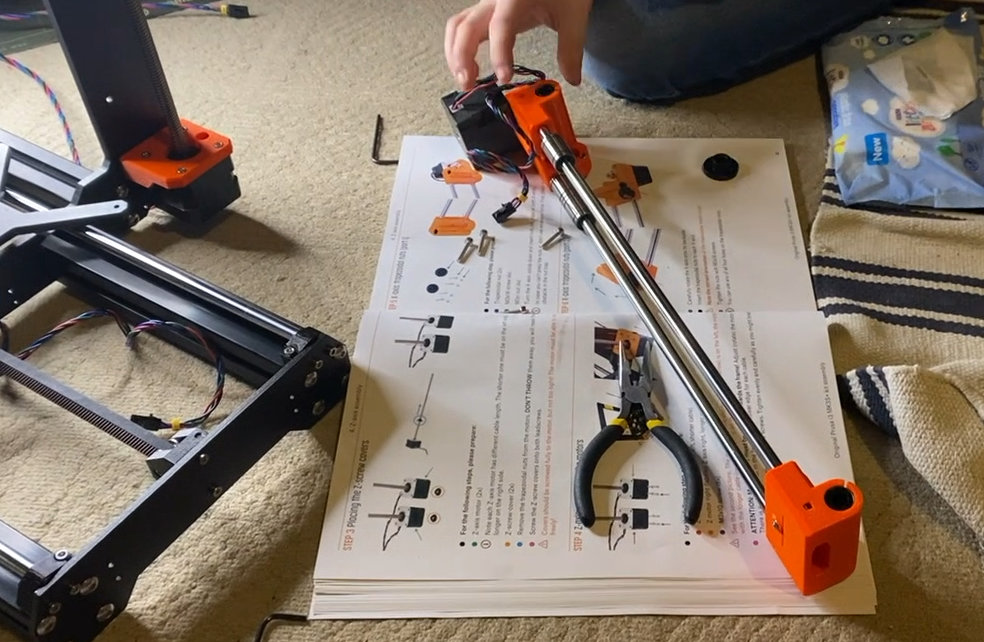
Z Axis
The Z axis moved the extruder up and down and was pretty similar adding the linear bearings, mounting the stepper motors, pretty swift work.
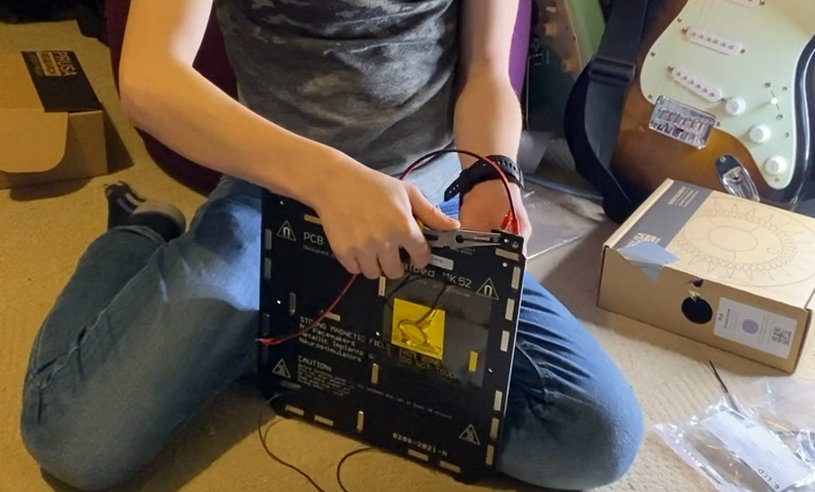
E Axis Extruder Assembly
It was clear this wouldn't be done in one evening this got pretty complex now. Many pages from the instruction manual things really stepped up a few levels.
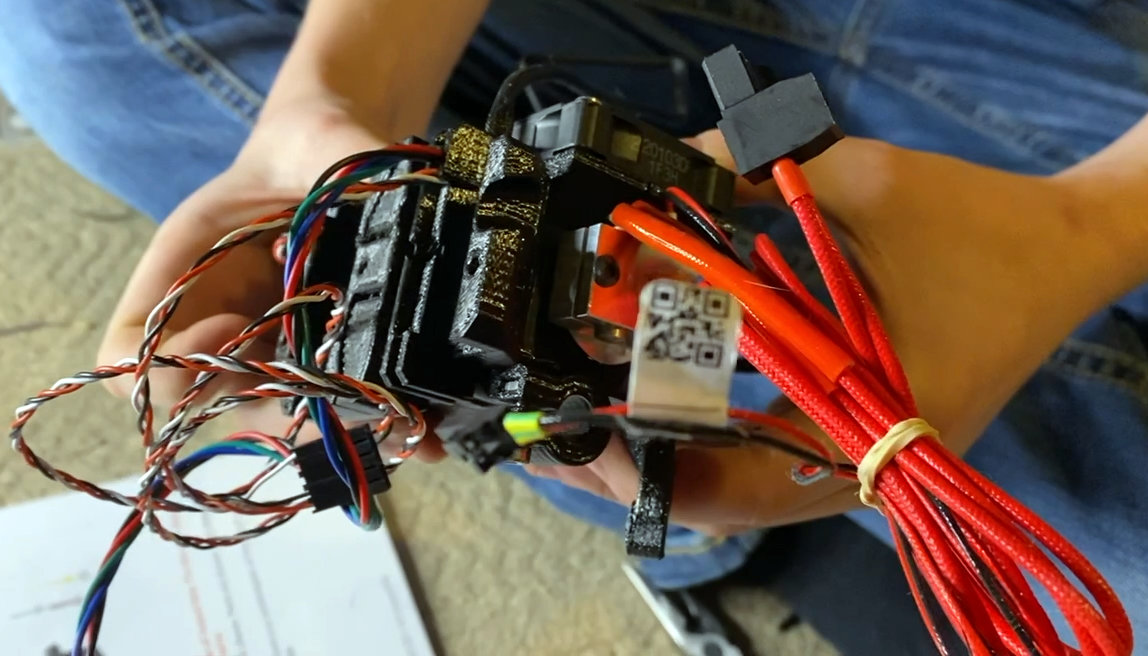
Our brother got a great insight to the inner workings of the printer from this process.
You add the hot end, filament sensor parts with steel ball, lever, IR sensor and magnet.
The gears need to be added an aligned and you see how the filament is pulled through the hot end. You add the stepper motor and even the fan.
The Pina sensor is added her which measures distance from the build plate it's truly a mammoth task.
Screen and Heatbed
To be honest my brother was the only one left at this point and he wanted to stop, but finished up the LCD screen and Heat-bed which was a step down in complexity and relatively quick progress.
Tantalisingly close to finishing but we had to call it a night at this point.
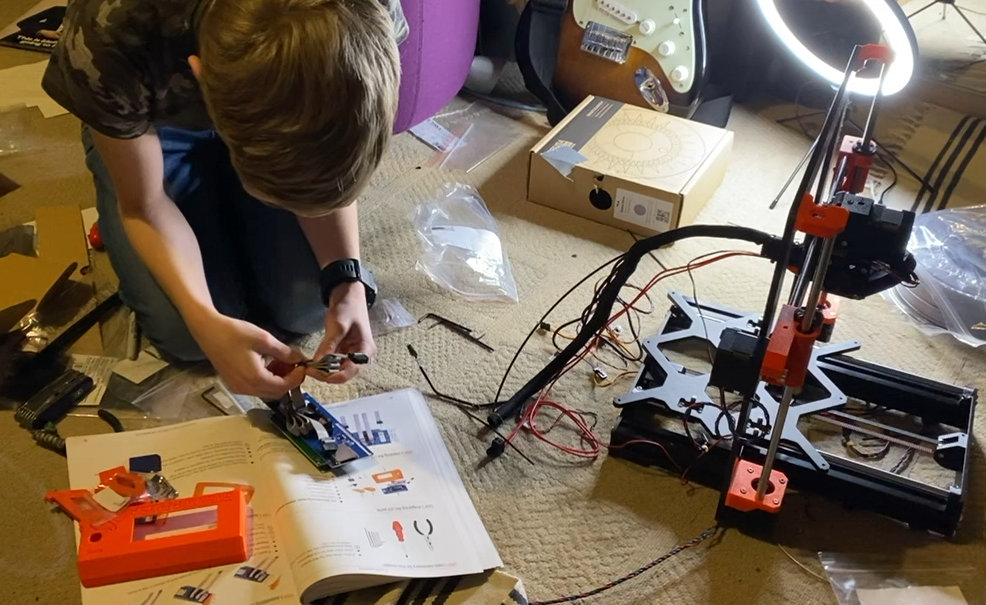
PSU Electronics and Cable Management
Mounting the PSU was quick but we spent time with our cable management to get it really neat.
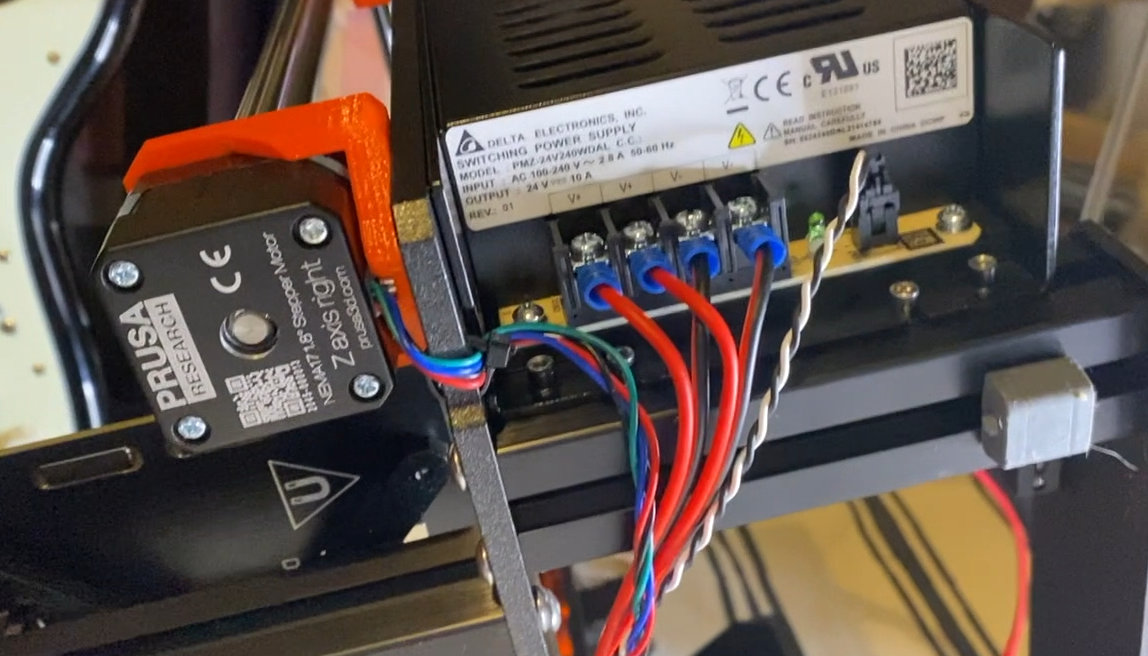
It was very hard to connect everything up to the main electronic board, there really isn't any spare space in there and it was very frustrating. We were so close to testing it all out but this stage was time consuming and fiddly.
We didn't know at the time but we made a mistake with the IR sensor at this point.
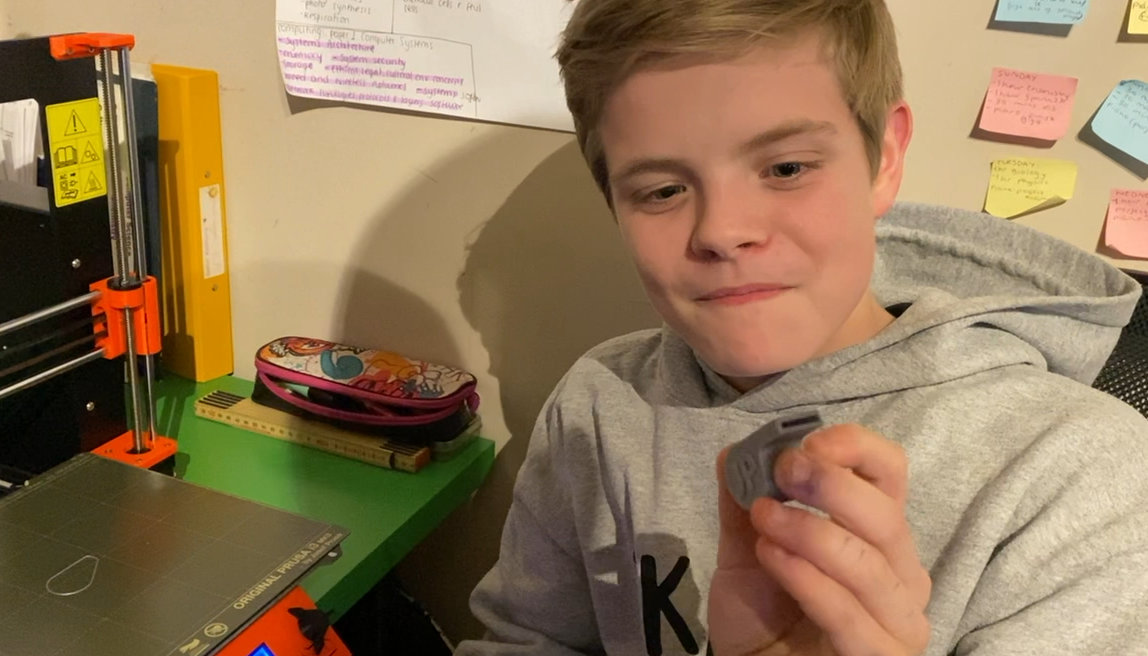
Plugging In And Our First Print
Everyone but our Brother & Dad were in bed, here is my brother just after the machine has calibrated and he's doing the very first print.

Calibration took a while and we had to turn off the filament sensor because it wasn't working and wouldn't print.
Prusa i3 MK3S+ vs Qidi Tech 1 3D Printer Compared
This should be a kind of downgrade as our old Qidi had dual extruders and the Prusa only one. The Qidi has an enclosure which is a bonus.
However where the Prusa shines is the quality, reliability, and easy of the prints. It took a long time to dial in the settings for the Qidi and the Prusa just works immediately.
The build plate is a real step up with removable magnetic plates. The Qidi place was very difficult to manage and only really worked when we added a piece of glass to it.
The Qidi customer support was amazing, sending us parts for free event though we didn't buy it from them.
Prusa customer support was not needed as the instructions were great and everything just worked, although we did make a mistake with the filament sensor.
Should You Buy A 3D Printer
If you have the funds we would recommend a 3D printer, but they are expensive to buy and run.
You'd have to do a lot of 3D printing to get a return on your investment, although it's hard to quantify the fun & learning you have in the process of 3D printing.
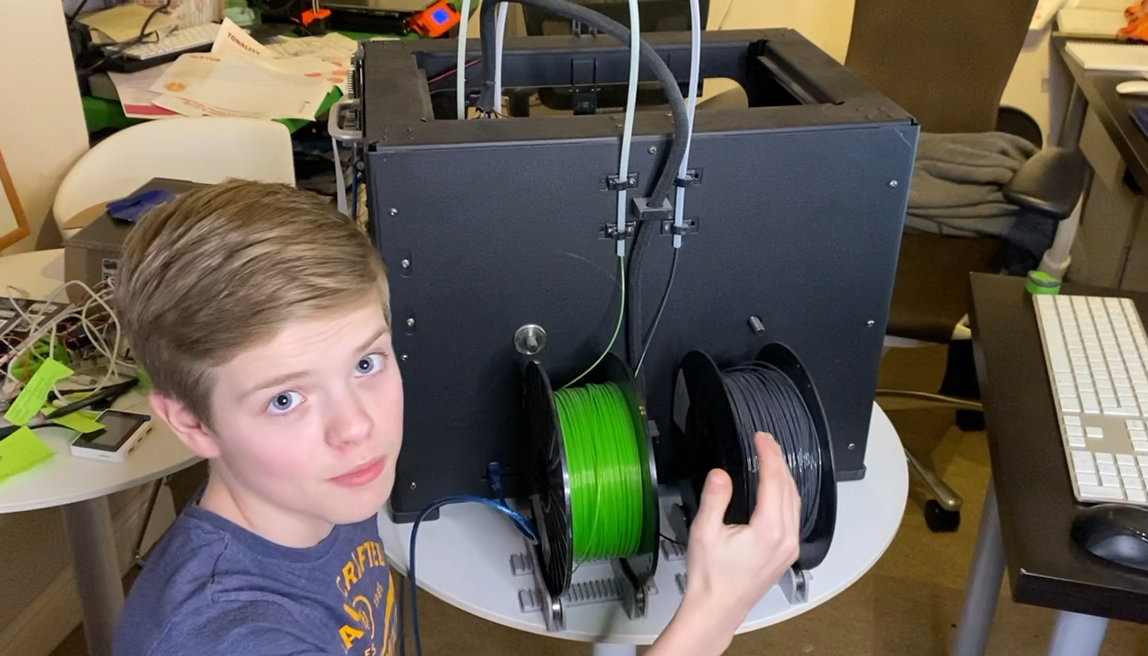
A Week With The Prusa And Part 2
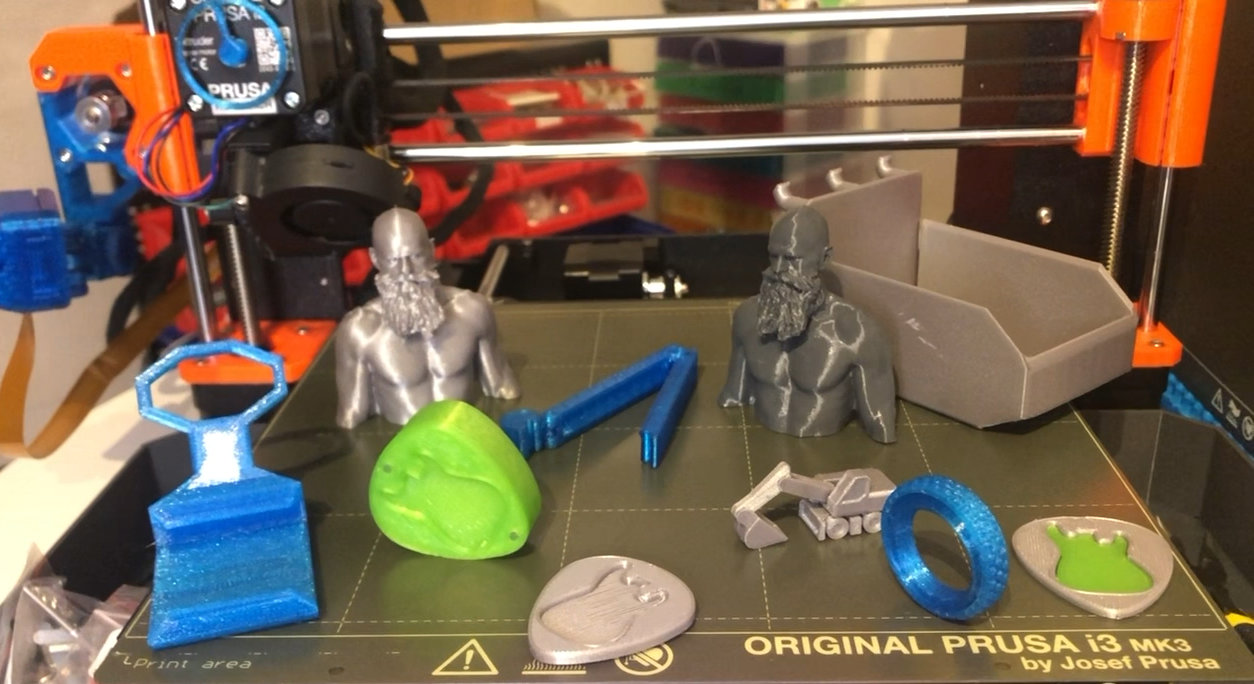
We've had a week with the printer and made lots of prints and modifications. The printer is amazing, better than anything we expected.
In part 2 we show the modifications, prints, and how the filament sensor works. We were blown away by the nuts and bolts we printed.