projects
Discover Your Microcontroller's IP Address Without a Screen or Computer: A Guide for RP2040, ESP32, ESP8266, etc.
Introduction
Hey there, fellow makers and IoT enthusiasts! Have you ever found yourself in need of your microcontroller's IP address, but without a screen or computer to help you out?
We've got you covered! In this post, we'll introduce you to an amazing piece of code from our larger project, the MicroPython Webserver. This code lets you discover your microcontroller's IP address for devices like the RP2040, ESP32, ESP8266, Raspberry Pi Pico, and Arduino by making an LED blink or a buzzer buzz in a specific pattern. The best part? You can integrate it into your project with just one line of code!
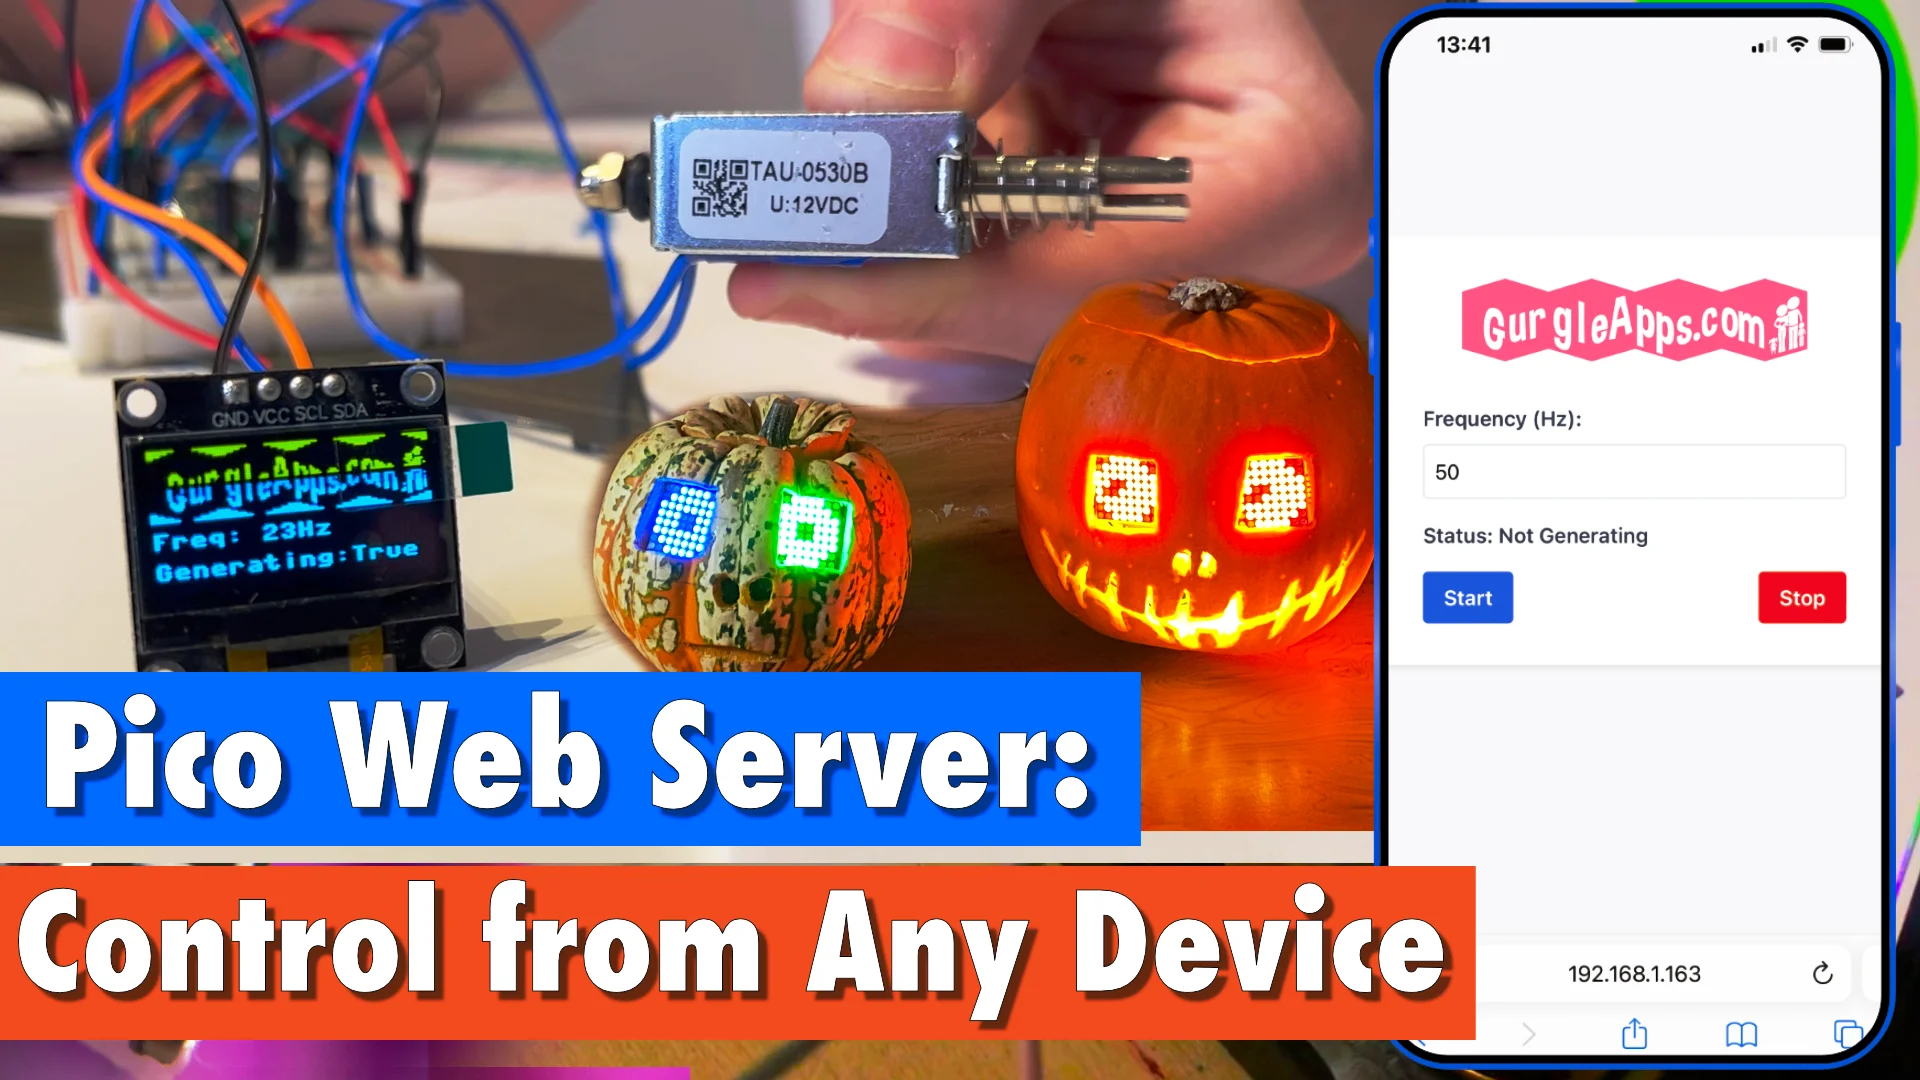
Our MicroPython Webserver allows you to control microcontrollers right from your web browser. Interested? You can find the full project here.
Now, let's dive into how to use our awesome blink_ip function!
- Introduction
- Reading The IP
- Video Demonstration: IP Address Communication in Action
- Calling blink_ip
- Using The blink_ip Function Without the Webserver
- Great Options If You Have A Screen Or Computer
- Conclusion
- Get The Code
Reading The IP
To interpret the IP address communicated by the blinking LED or buzzer, follow the pattern below:
- The numbers are blinked out 5 blinks for a 5, 7 blinks for a 7, etc.
- A small delay between digits
- 2 quick flashes for a dot (between octets)
- 4 quick flashes for a zero
- 9 quick flashes to mark the end
- It will then repeat (configurable but default is twice)
Video Demonstration: IP Address Communication in Action
Hey, want to see how the blink_ip function works in real life? We made a video demo just for you! In this video, you'll see our project in action, as it uses an LED to blink out its IP address. Plus, we've added some extra tips and info to help you get started with our code. Trust us, it's worth a watch!
Calling blink_ip
You can see from the function definition how customizable it is.
async def blink_ip(self, led_pin, ip=None, repeat=2, delay_between_digits=0.9, last_only=False):
    ...
You can pass in any pin, making it versatile for IoT applications, so this could be connected to a buzzer or external LED. You can pass in the IP address and how many times to repeat.
We found 0.9 seconds delay between digits was the sweet spot for us, but you can pass in your own delay.
Often only the last octet changes on a particular network so we've included an option to only flash the last part, saving you a lot of time.
This is how we call the function in our main.py
if config.BLINK_IP:
        await(server.blink_ip(led_pin = led, last_only = config.BLINK_LAST_ONLY))
We mainly use the defaults but send in the onboard led pin and pass in a boolean taken from a config file for last_only.
Using The blink_ip Function Without the Webserver
If you use our Webserver, everything will work automatically. However, you have other options to import our class and call the function.
from gurgleapps_webserver import GurgleAppsWebserver
await(server.blink_ip(led_pin = <YOUR_LED>, last_only = FALSE, ip = <YOUR_IP>))
If you are not using our Webserver and don't want the overhead of our other code then feel free to just lift the code and paste it into yours.
Great Options If You Have A Screen Or Computer
If you have access to a screen or a computer, there are several other methods to find your microcontroller's IP address.
From The IDE
When we run our MicroPython Webserver from Thonny it prints the IP and there are some other methods you can use.
arp
You probably already have arp available in your shell.
arp -a
And the example result
? (158.254.149.154) at (incomplete) on en0 [ethernet]
? (192.168.1.3) at a3:b4:c5:d6:e7:f8 on en0 ifscope [ethernet]
router.broadband (192.168.1.1) at 12:34:56:78:9a:bc on en0 ifscope [ethernet]
smartphone.broadband (192.168.1.12) at 98:76:54:32:1a:bc on en0 ifscope [ethernet]
laptop.broadband (192.168.1.15) at ab:cd:ef:12:34:56 on en0 ifscope [ethernet]
picow.broadband (192.168.1.25) at 5f:6e:7d:8c:9b:aa on en0 ifscope [ethernet]
picow-2.broadband (192.168.1.26) at 10:20:30:40:50:60 on en0 ifscope [ethernet]
tablet.broadband (192.168.1.30) at 01:23:45:67:89:ab on en0 ifscope [ethernet]
We could use grep to filter our the picos
arp -a | grep picow
Results
picow.broadband (192.168.1.25) at 5f:6e:7d:8c:9b:aa on en0 ifscope [ethernet]
picow-2.broadband (192.168.1.26) at 10:20:30:40:50:60 on en0 ifscope [ethernet]
arp-scan
You could use your package manager to install arp-scan then run it as below:
sudo arp-scan -l
Here is a sample output
Interface: en0, type: EN10MB, MAC: 11:22:33:44:55:66, IPv4: 192.168.1.10
Starting arp-scan 1.10.0 with 256 hosts (https://github.com/royhills/arp-scan)
192.168.1.1    10:20:30:40:50:60    ABC Technologies Inc.
192.168.1.12   51:62:73:84:95:a6    DEF Networking Corporation
192.168.1.15   11:22:33:44:55:66    GHI Enterprise Solutions
192.168.1.25   5f:6e:7d:8c:9b:aa    Raspberry Pi Trading Ltd (picow)
192.168.1.26   10:20:30:40:50:60    Raspberry Pi Trading Ltd (picow-2)
Router
Your router will likely show you your DHCP client list which is another good method to use.
Conclusion
So, there you have it, folks! Finding your microcontroller's IP address without a screen or computer is now a piece of cake with our super-cool blink_ip function. No matter if you're playing around with an RP2040, ESP32, ESP8266, Raspberry Pi Pico, Arduino, or some other microcontroller, this nifty code lets you grab your device's IP address using just an LED or buzzer.
We really hope this guide has helped you out, and we'd love for you to take a peek at our MicroPython Webserver project for even more awesome features. Armed with this cool new knowledge, you're all set to rock any IoT project that comes your way. Keep on making, friends!
Get The Code
Feel free to explore the code, try out new features, and contribute to the project on our GitHub repository.