projects
DIY Circuit Board Piano with a Sharpie
Did you know that you can easily etch your own circuit board at home with just a few simple materials?
All you need is a cheap copper plate from eBay, a sharpie marker, and some inexpensive copper chloride solution.

We'll show you how to use these items to create your own stylophone piano circuit board. It's a fun and creative activity that kids will love, and it's a great way to learn about electronics and circuit design. So gather your materials and let's get started!
You Will Need
Items needed for etching the circuit board piano structure:
- Copper Etching Plates
- Ferric Chloride (and a container to store it in)
- Black Permanent marker or stickers (we used a sharpie)
- Tinning Solution And Thiourea (optional)
Items needed for hooking up the circuit from the last article to the circuit board:
- Soldering iron
- Solder
- Flux (optional - makes soldering a tad easier)
- Drill (or anything that can make a little hole inside the circuit board)
Safety
This is a fun project if you observe all the safety measures like a good maker. We never take any risks. It's unusually serious of us but we're adding a disclaimer here.
DISCLAIMER: Use caution and follow proper safety guidelines when handling ferric chloride or any other chemicals. The information in this article is for educational and reference purposes only and is not a substitute for professional instruction. The author and publisher are not responsible for any injury, damage, or loss resulting from the use of this information.
-
Wear protective clothing, including gloves, and goggles to prevent skin and eye irritation.
-
Use ferric chloride in a well-ventilated area to reduce the risk of inhaling fumes.
-
In case of skin or eye contact, flush the affected area with water for at least 15 minutes and seek medical attention if irritation persists.
-
Store ferric chloride in a secure, labeled container away from heat and flames.
Etching Out The Piano Shape
Etching a copper plate involves submerging it in an acid solution. As the acid comes into contact with the copper, it etches away the metal, leaving behind a design or image on the plate.
The etching process is achieved by covering areas of the copper plate that you want to keep with a protective material that the acid cannot penetrate. This way, only the exposed copper is etched away, creating a design on the plate.
Methods
There are various materials that can be used to protect your design from the etching acid. We tested two methods: using a Sharpie marker and using stickers.
We did 2 designs: one used sharpy and the other used stickers, the results are shown below.
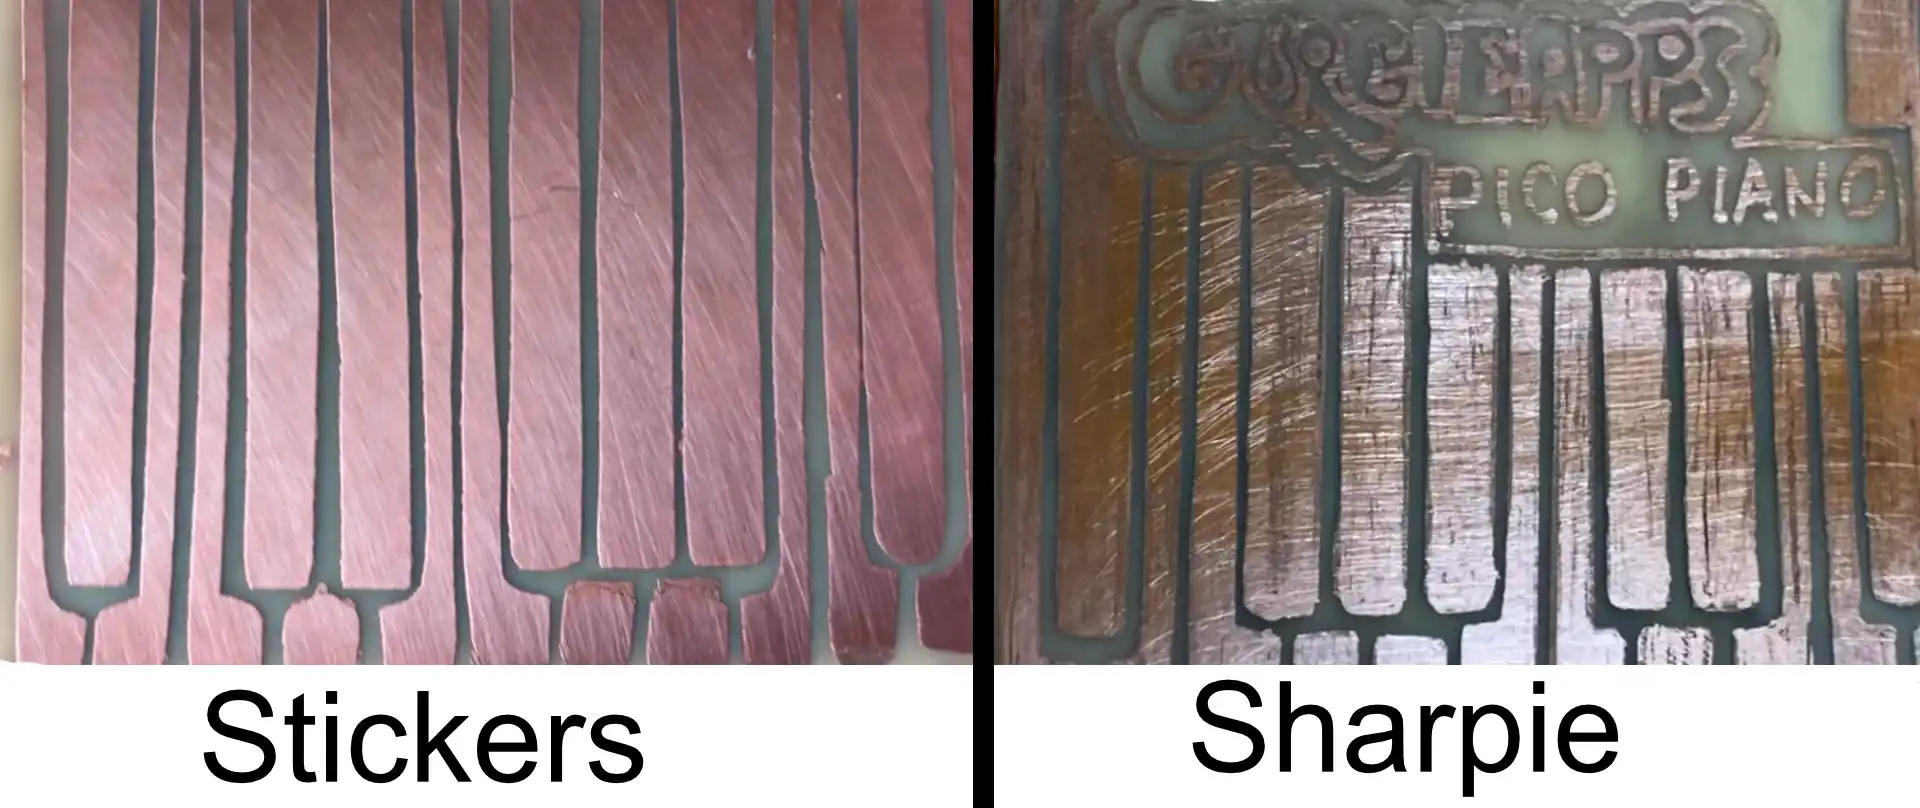
Overall, Stickers worked better but you can only do simple designs, sharpies worked but not as well as stickers but we can make intricate patterns.
Before drawing with permanent marker, make sure to rough up the copper surface and clean it with alcohol so make sure the marker will stick.
To create the structure for our Pico Piano, we first drew our design on the copper plates using a sharpie or stickers (in this example we use sharpy), making sure that none of the keys were touching. This is important because it ensures that the circuit will work properly.
The bits we want to keep are drawn in sharpie, the rest will be etched away
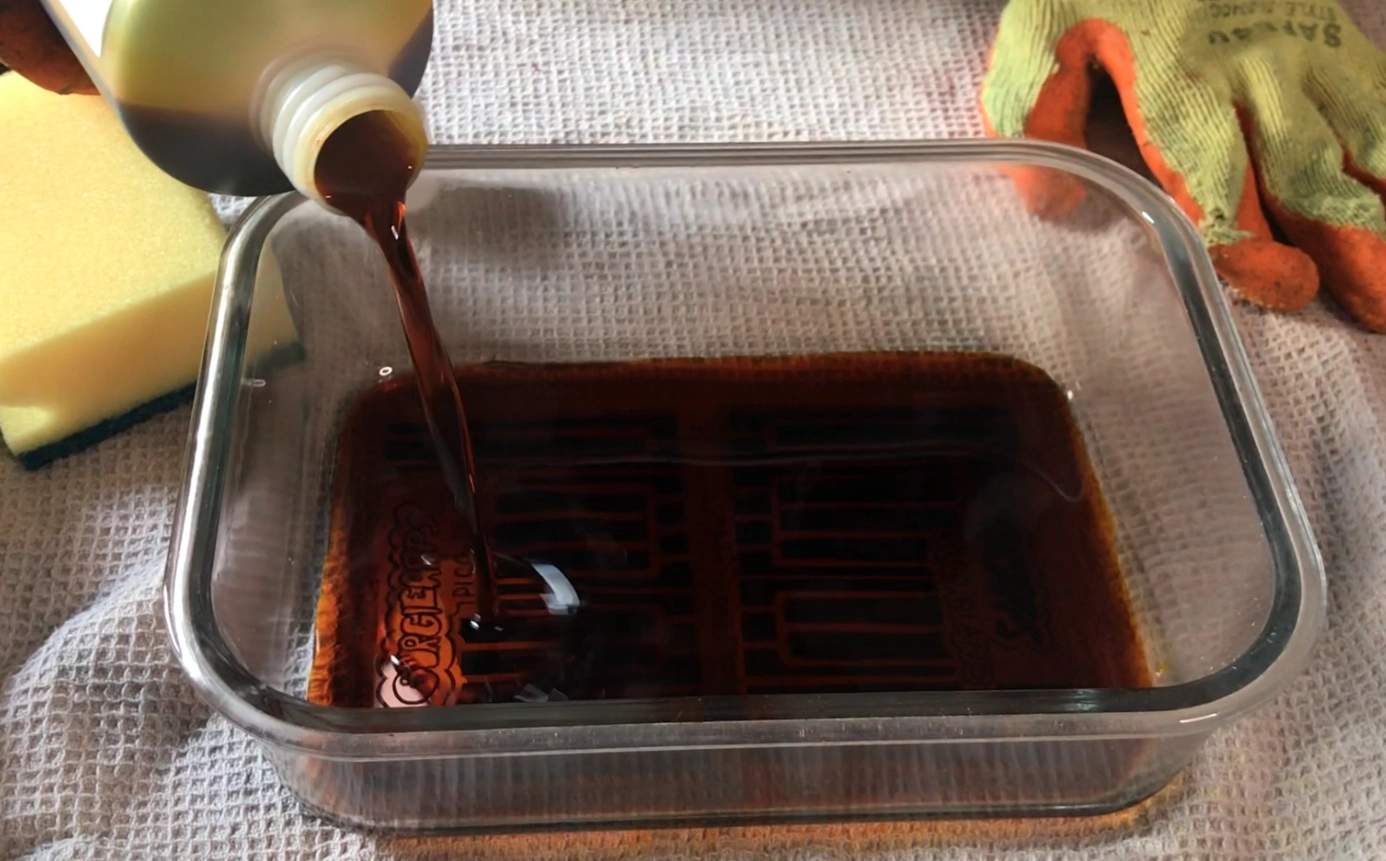
After preparing the design on the copper plate, we placed the plate in a glass container and filled it with ferric chloride solution.
The solution should be high enough to fully submerge the plate, but not so high that it overflows the container.
We made sure to fully immerse the plate in the ferric chloride, ensuring that all areas of the copper were exposed to the ferric chloride.
After leaving the copper sheet in the ferric chloride for a while, we used tongs to remove the plates from the container.
The first time we did this, the plates looked like some copper was still on so we left it for another 5 to 10 minutes.
When it was ready, we placed them in the sink to avoid spilling any ferric chloride on the table or floor, which could create a potential hazard.
We then rinsed the leftover ferric chloride off the sheet being careful of splashes.
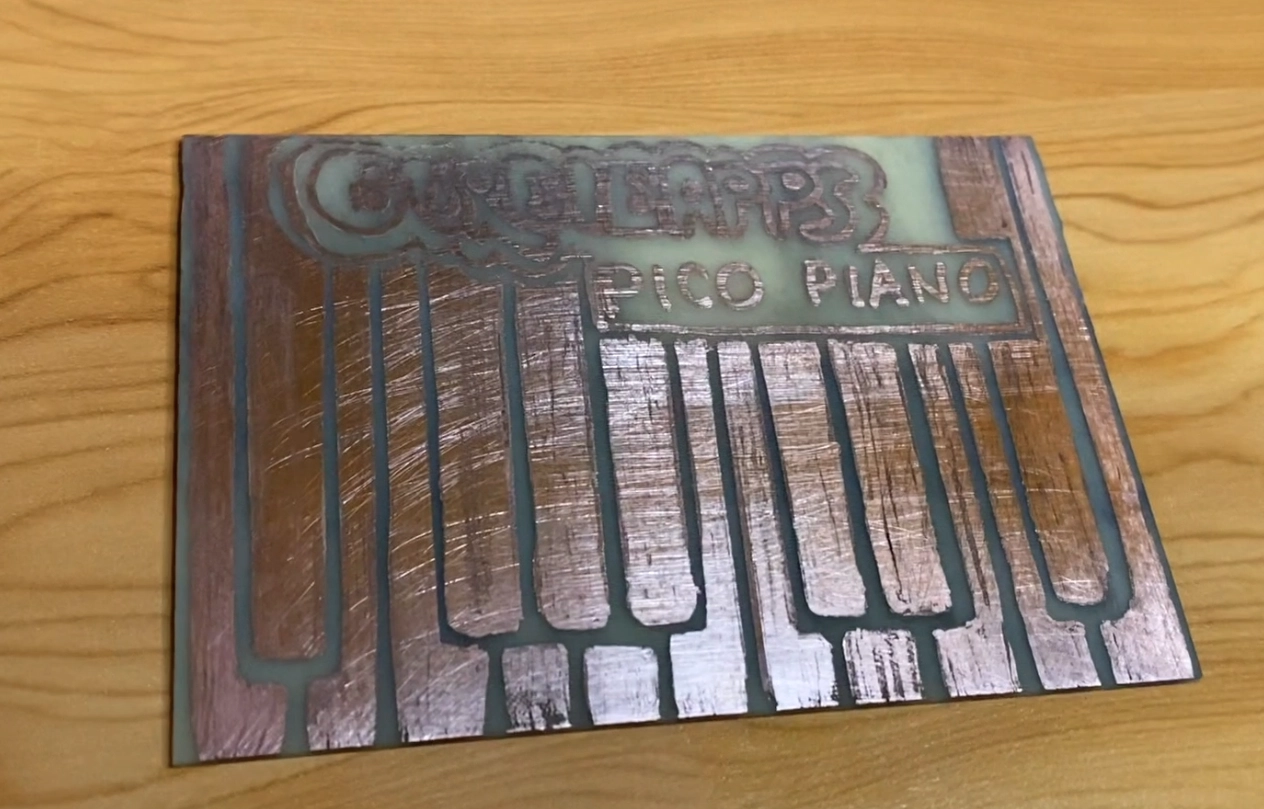
When disposing of the ferric chloride, DON'T through it down your sink/drain since it will erode your pipes.
We were left with something that looked like this:
Tinning The Circuit Board
Tinning is not a necessary step and can be skipped if wanted to.
Tinning circuit boards is a process that serves multiple purposes. It protects the copper traces on the board from damage and improves their conductivity.
Additionally, tinning can give the board a more polished and aesthetically pleasing appearance.
We experimented with two methods of tinning our circuit boards. The first method involved using solder to cover the copper traces on the board.
While this method was effective at protecting the copper and improving the board's conductivity, it did not produce a particularly aesthetically pleasing result. The soldering process left the board with a messy and lumpy appearance.

The second method we tested for tinning the circuit boards involved dipping the plates in a tin solution for a brief period of time.
Ordinarily, the tin solution would not combine well with the copper surface. However, we added a chemical called thiourea to the solution to help the combination of the copper and tin.
This method was much easier and quicker and resulted in a more aesthetically pleasing finish than the first method, which involved soldering the copper traces. Overall, the tin solution dip method proved to be an effective and efficient way to tin circuit boards.
Below is an image of the tinned board:
Wiring our circuit to the etched copper plate
The wiring process is quite simple. Instead of the resistors being connected directly together, we just connect ground to the first note of the keyboard and had a resistor connected to that key and the next key.
The next key also had another resistor connecting it to the next key.
This pattern continues until the end of the keyboard where the power wire is connected.
Each key should have 2 connections, the end keys 1 resistor and 1 wire, and all the other keys, 2 resistor ends. Make sure the resistors and wires are connected to the copper not where the board has been etched.

We drilled little holes so we could have the resistors at the back but put the ends of them through the hole and touch the copper key keeping the piano cleaner.
Once all wires and resistors are soldered to the keys, you are done - the speaker and probe stay the same from the circuit in our last article on this.
soldering
You don't have to solder, you just have to make sure the resistor legs are touching the copper and won't stop touching it. Soldering is a secure and simple way of doing this though.
If needed, we have a great video on soldering where our little sister solders for her very first time.